

Configuration Assistant
The Configuration Assistant is an AI-powered agent that can create, update, and visualize product configurations through chatbot prompts, interactive product diagrams, and built-in tools to expedite the process of designing and troubleshooting product configurations.
Once changes are complete, configurations can be downloaded or deployed to new or existing tenants from within the Configuration Assistant. Following deployment, new tenants are added to the list of tenants available in the Operations Workbench like any other tenant.
The Configuration Assistant is not enabled by default. Contact your Socotra
representative to enable it. Users must possess either the assistant.execute
or assistant.agents permission to access the Configuration Assistant.
Getting Started
Navigate to the Configuration Studio to begin using the Configuration Assistant.
Step 1: Choose Your Starting Point
There are three ways to get started with the Configuration Assistant:
New Configuration
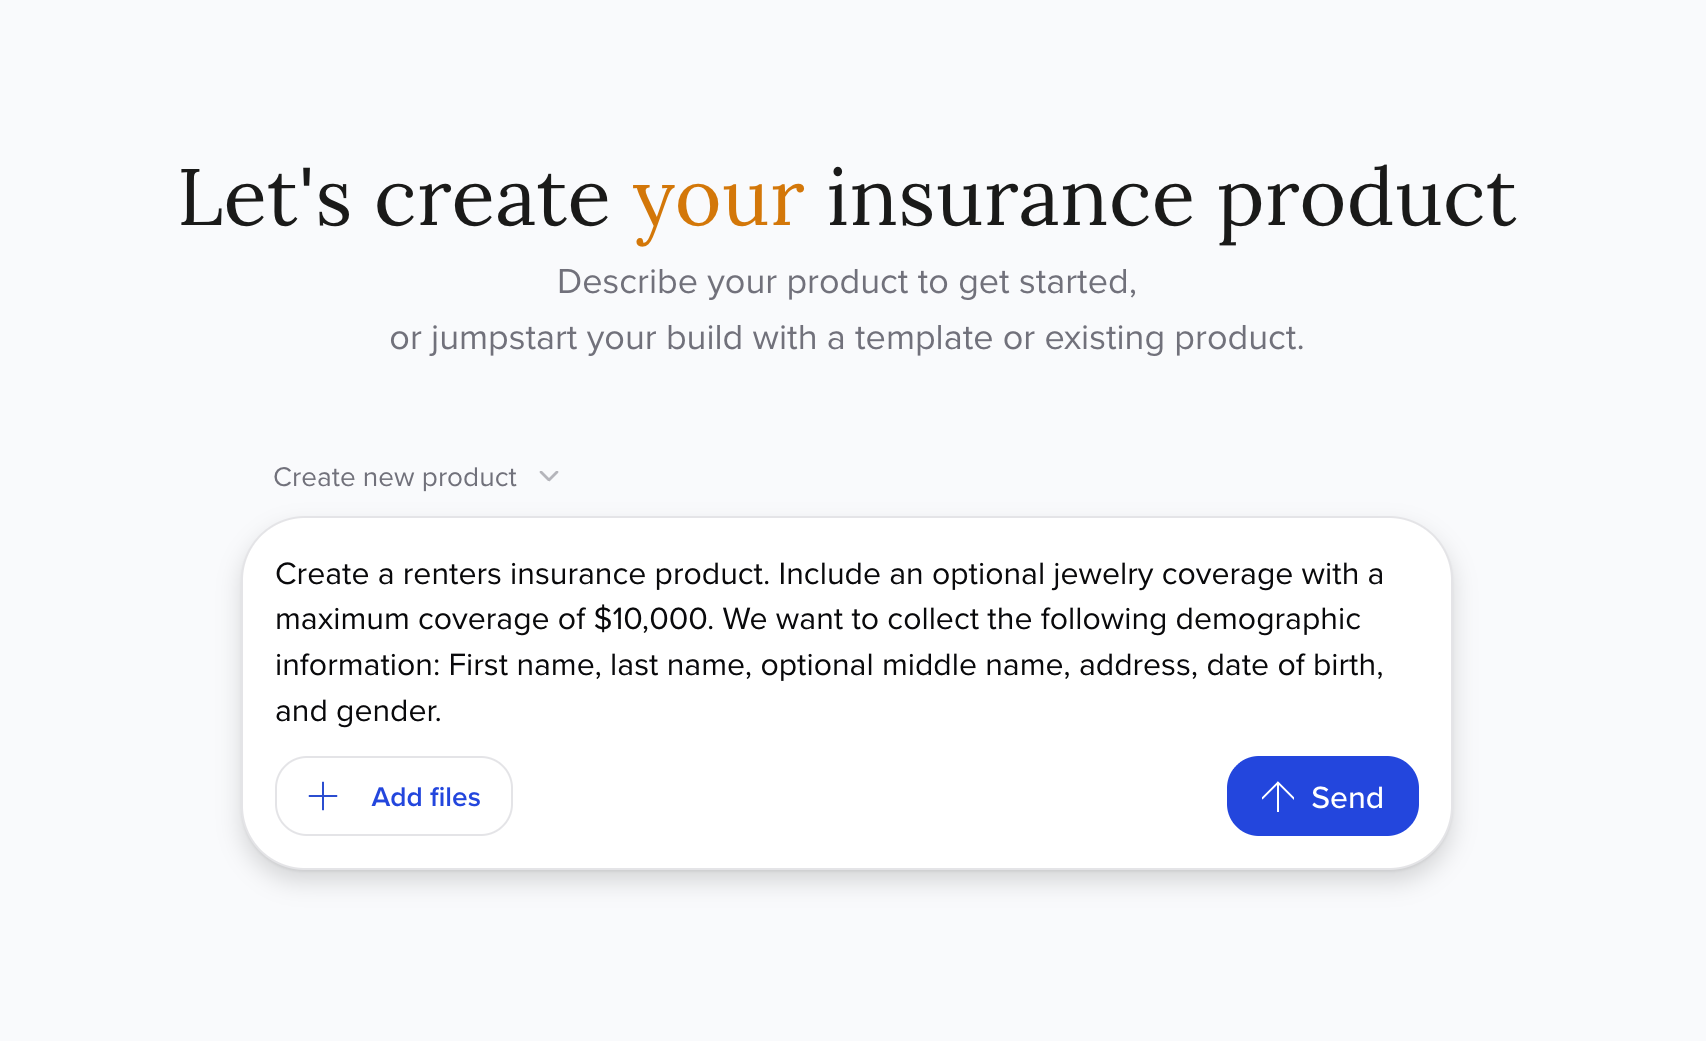
Write a prompt describing your insurance product and click the Send button to create a new product configuration.
Existing Configuration
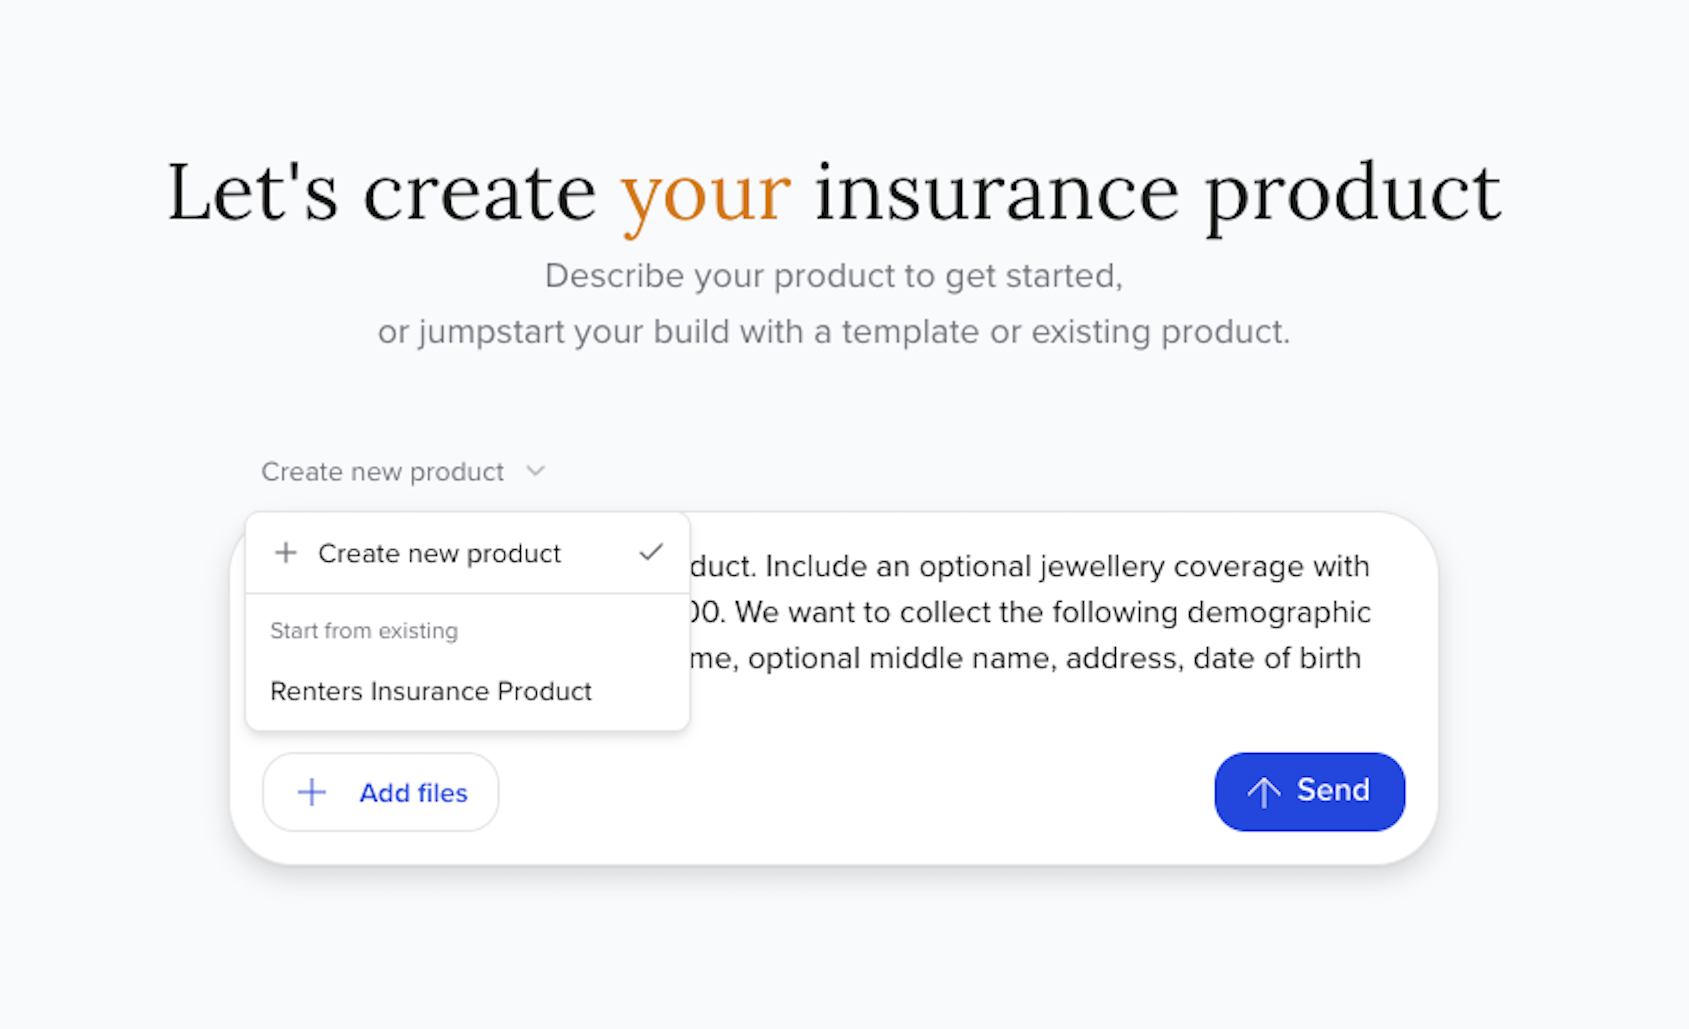
Click the Create new product dropdown, select a tenant, and submit a prompt describing the changes you want. The Configuration Assistant will load the existing tenant configuration.
Upload Files
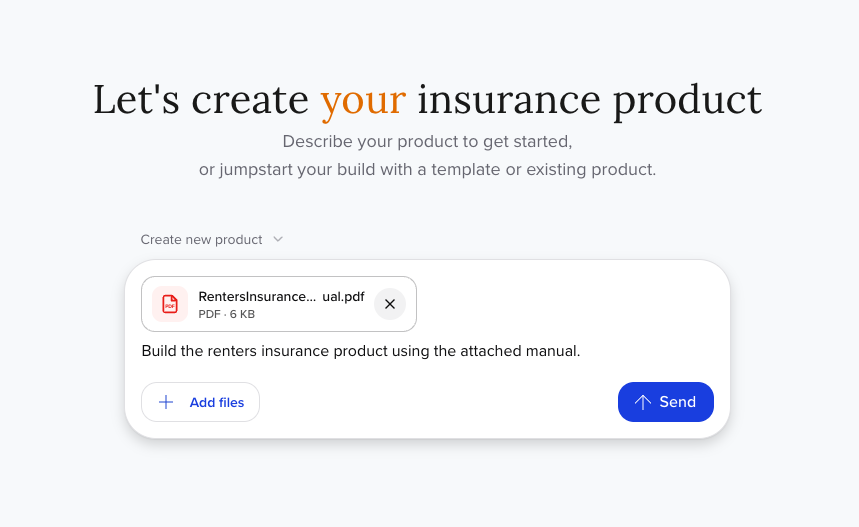
Click the Add files button to upload up to 3 files containing your product requirements before submitting your prompt. The maximum combined size of all files must not exceed 50 MB. Files must be in PDF, TXT, MD, DOC, DOCX, CSV, or XLSX format.
Step 2: Confirm the Plan
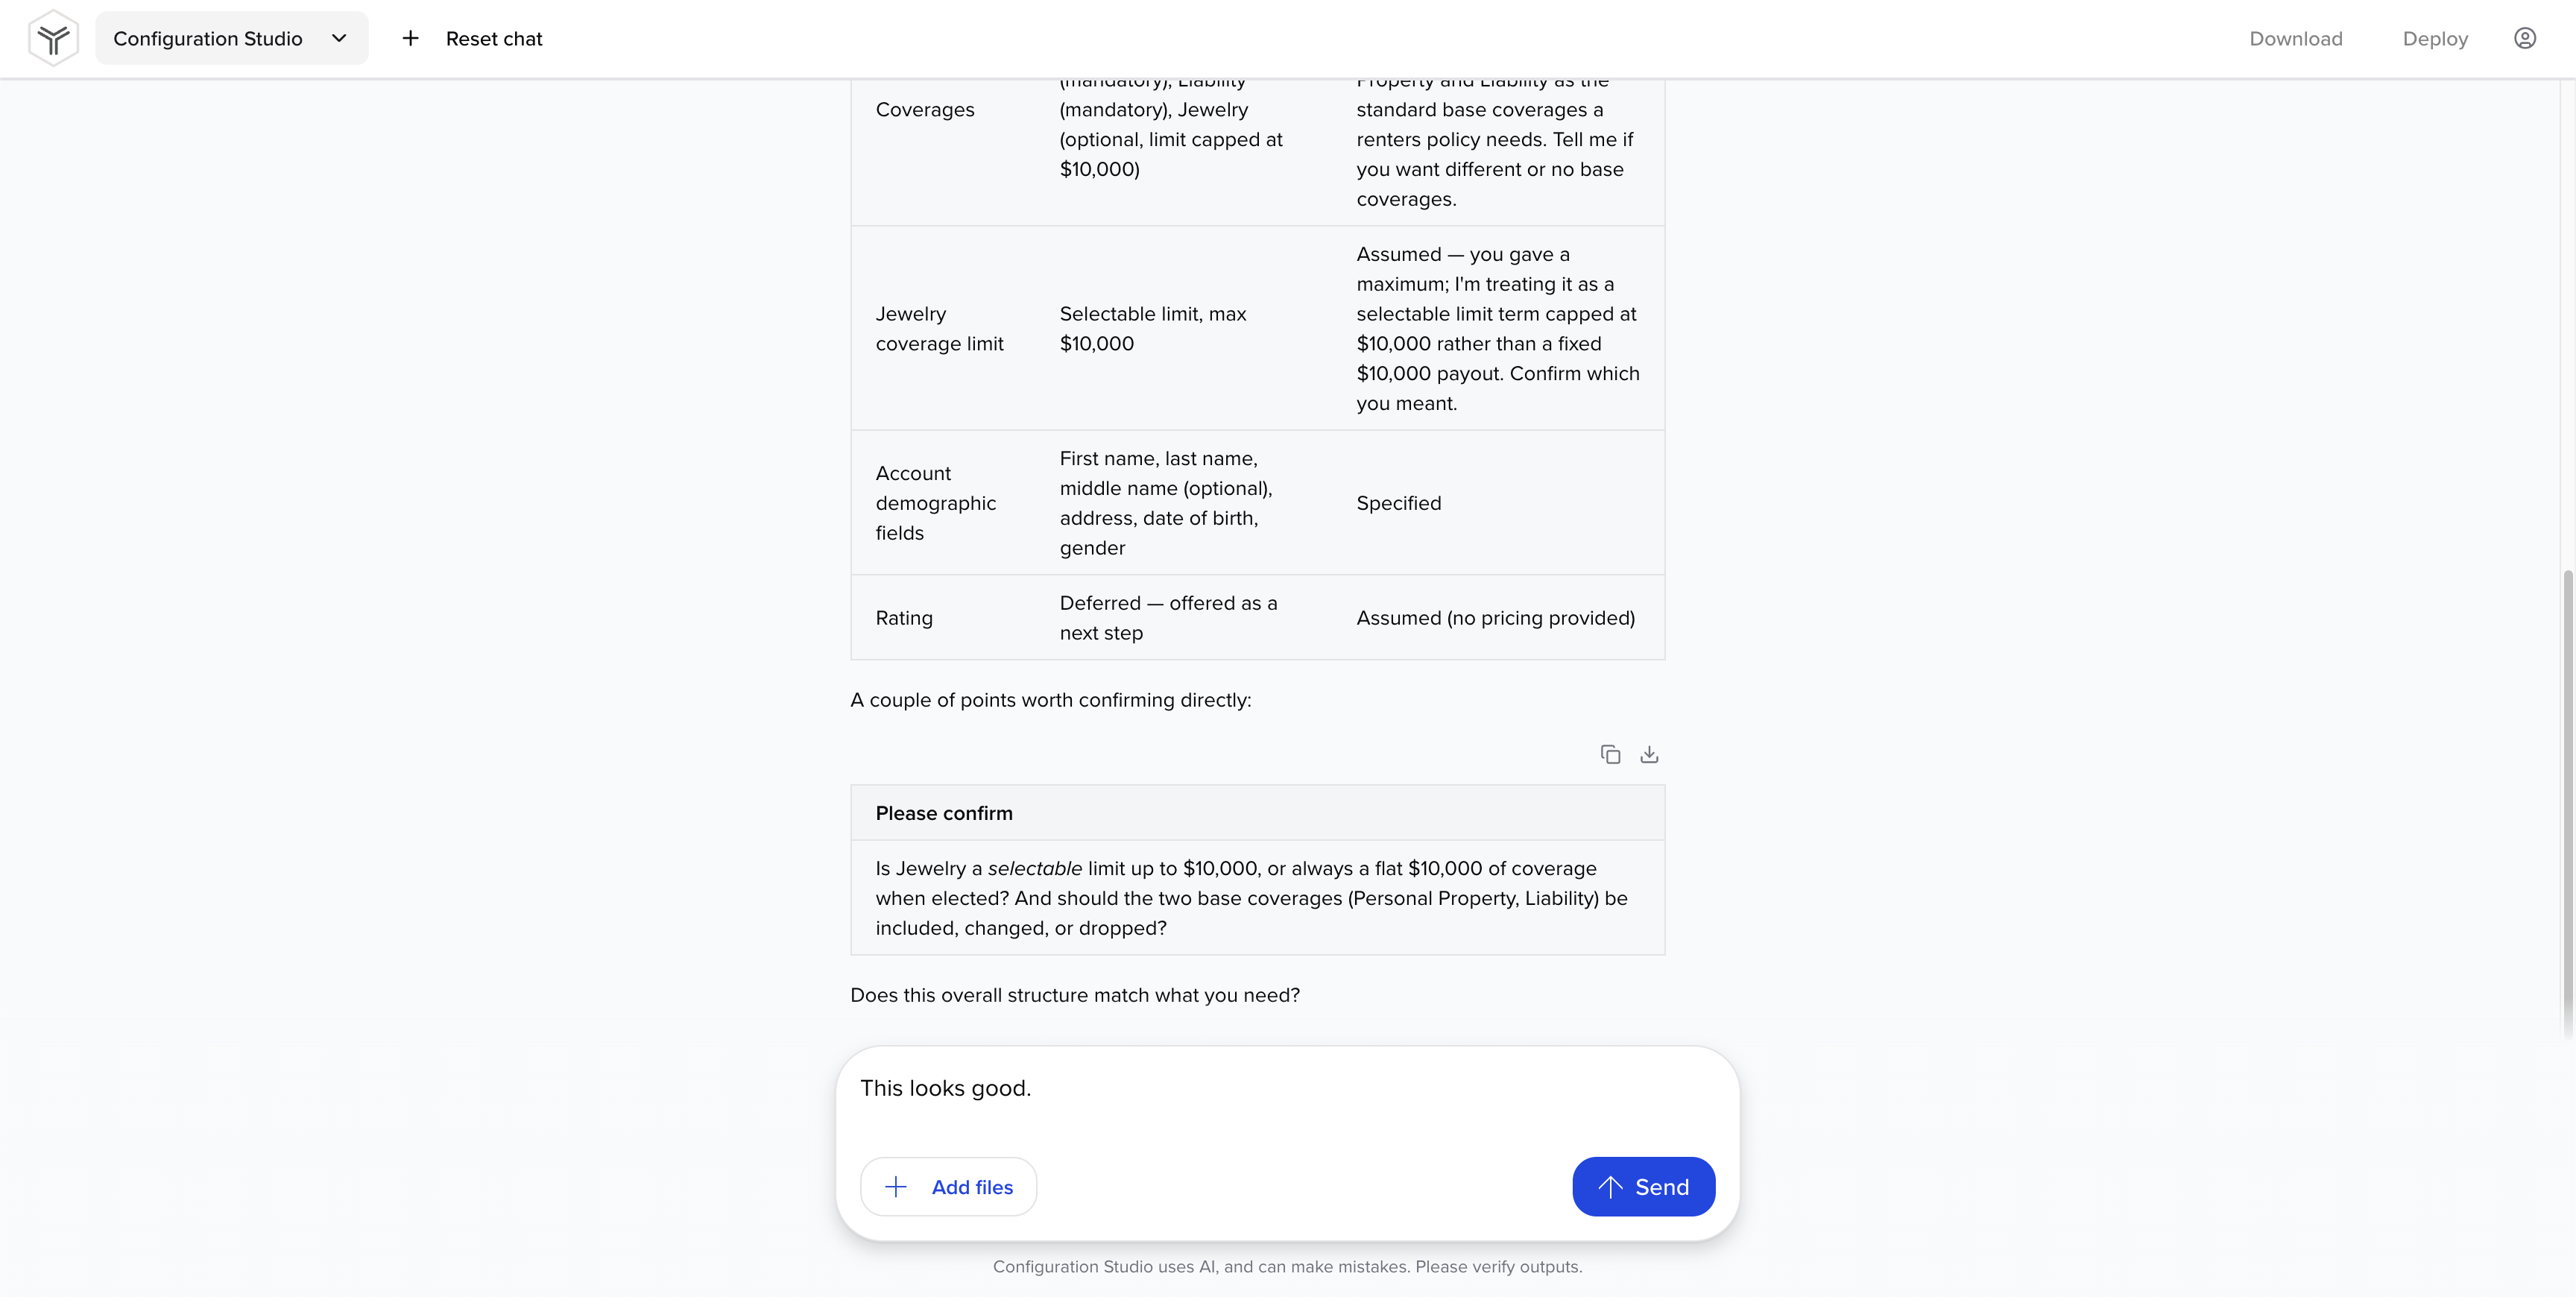
Once you submit your prompt, the Configuration Assistant will respond with a plan. Confirm the plan or describe the changes you want. The Configuration Assistant will continue to update the plan as requested until you confirm the plan.
Visualization
Once the configuration is available, the visualization section will load automatically, displaying the canvas view by default. You can switch to the explorer view at any time by clicking the Explorer button above the diagram.
Canvas View
The canvas view displays your product as a diagram. Click and drag within the canvas view to move the diagram around. Click the + and - buttons in the lower right corner to zoom in and out. Click the square icon in the lower right corner to reset the view.
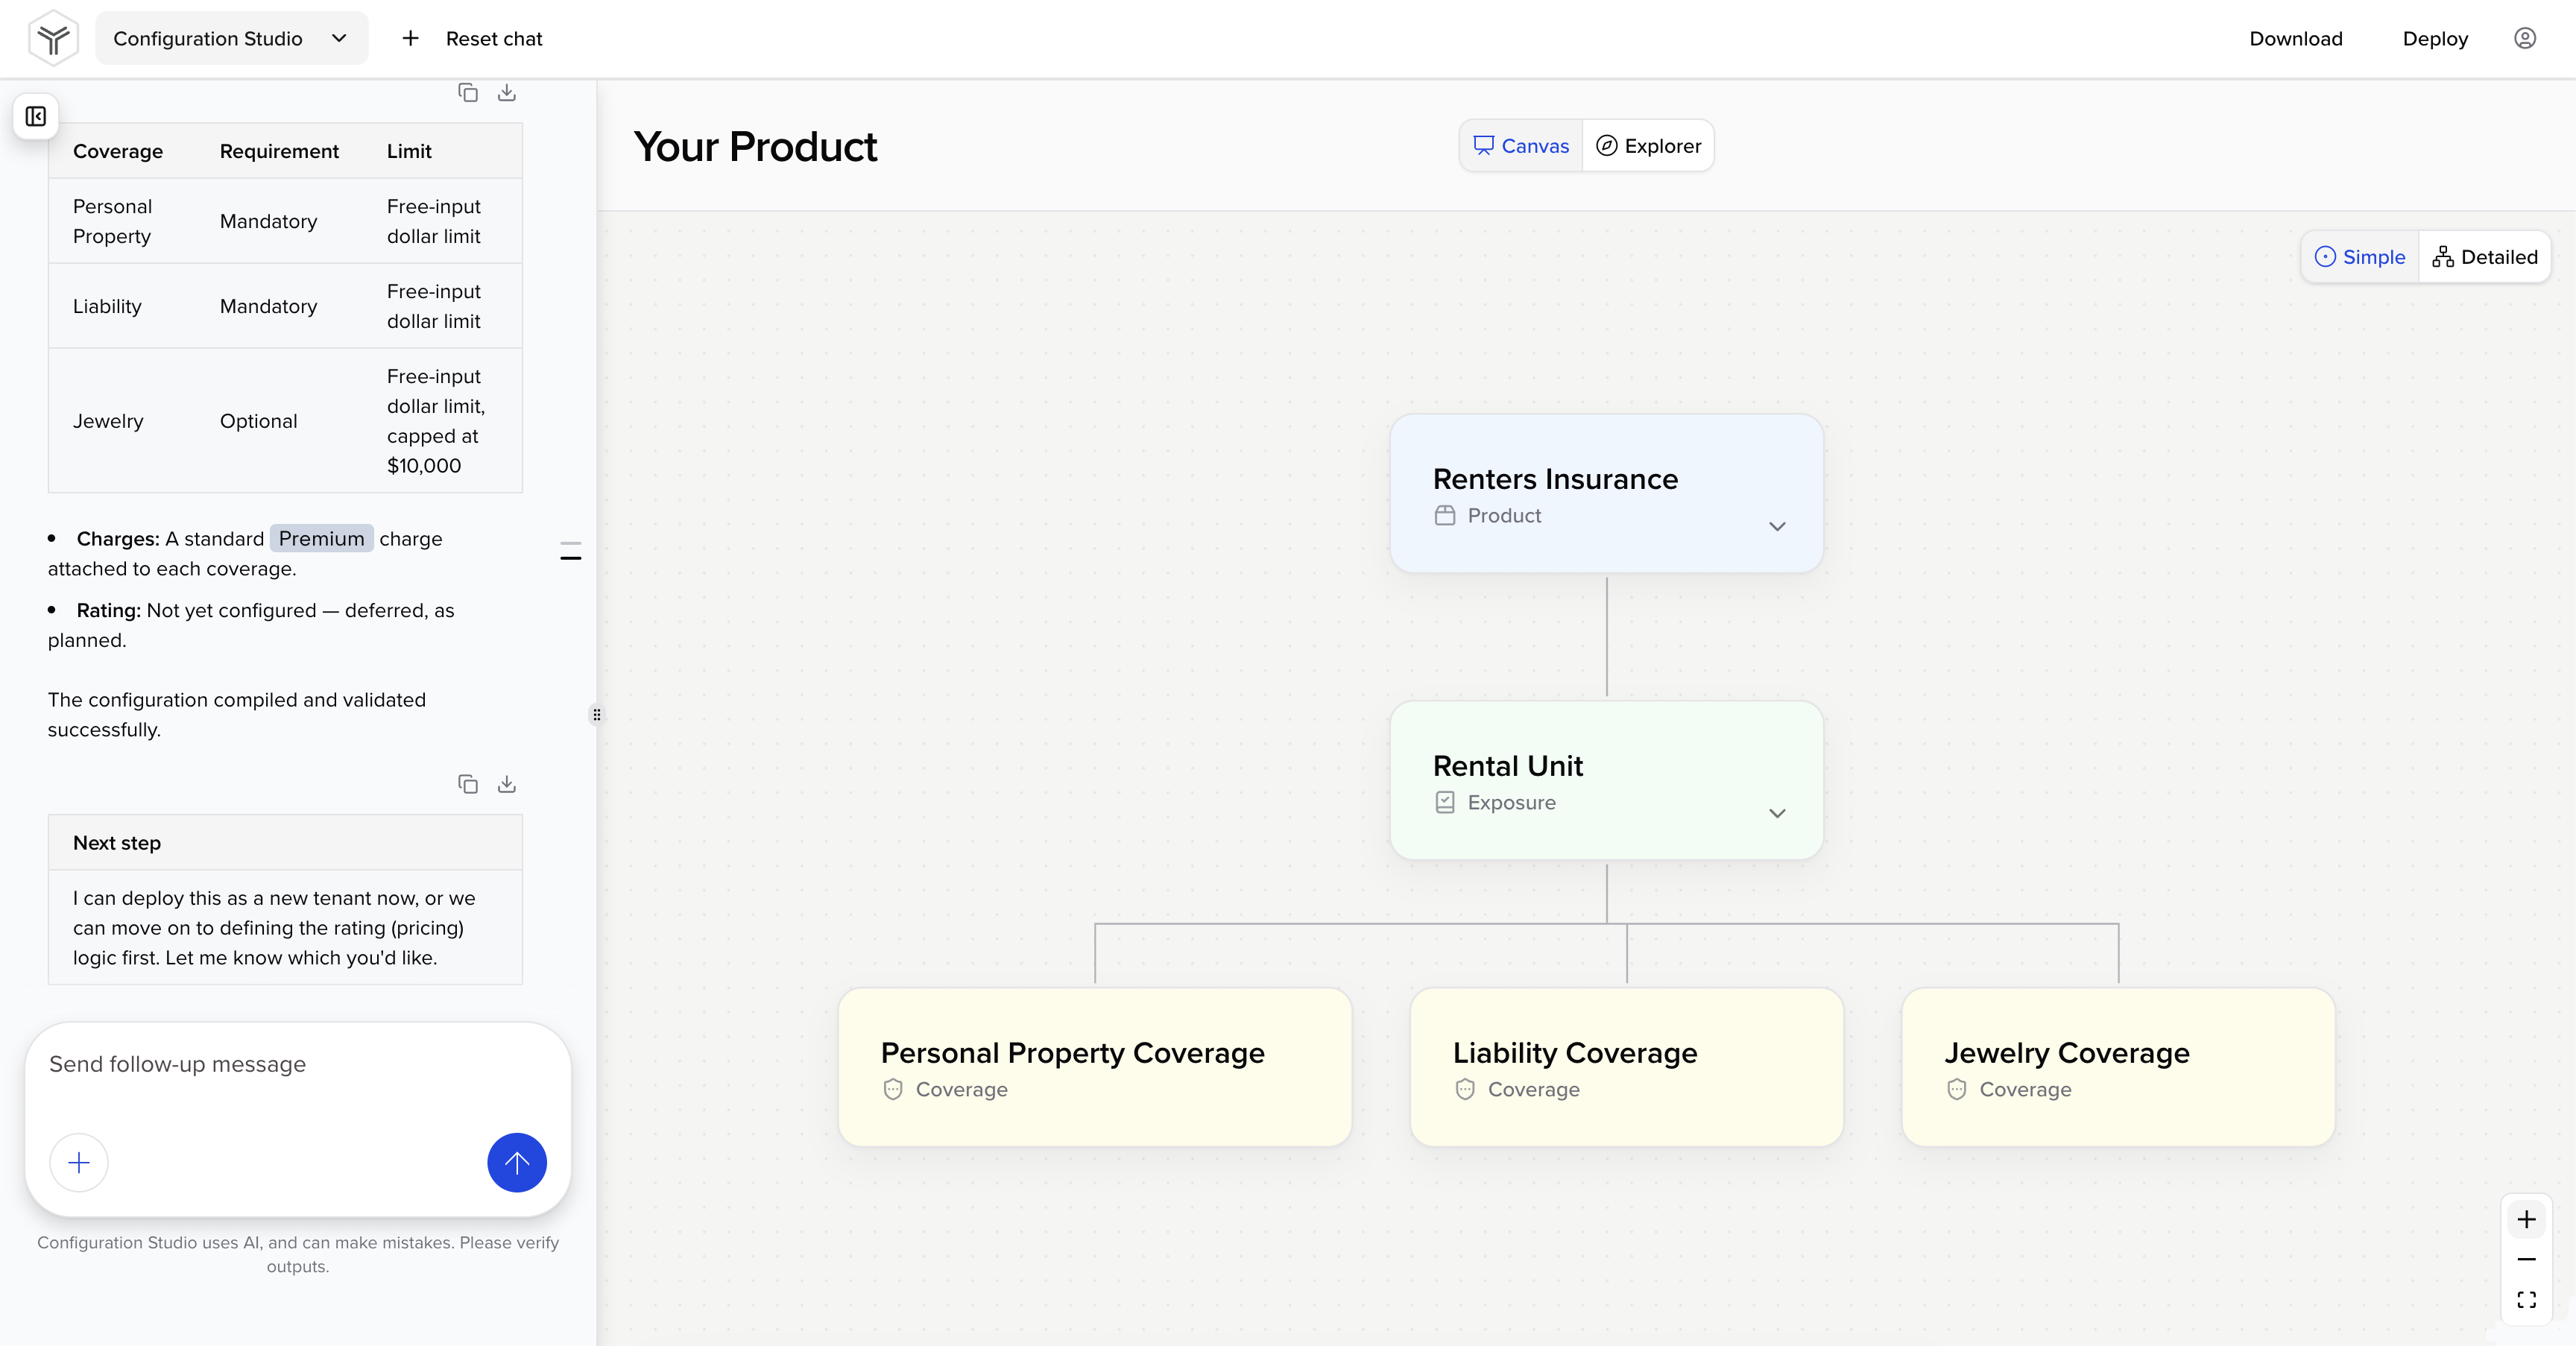
The canvas view contains 2 layout options: Simple and detailed.
Simple Layout
The simple layout displays a hierarchy of the policy elements associated with your product, including product, policyLine, exposureGroup, exposure, and coverage elements. If any of these elements have their own contents, those are shown in the hierarchy as well. Click the arrow within any diagram node to show or hide child nodes.
Detailed Layout
Unlike the simple layout, which is limited to policy elements, the detailed layout displays the entire product configuration. This layout includes every linked configuration item, including documents, charges, eligible account types, plans, and more, providing a detailed view of your product and how it references the rest of the product configuration. Click the Detailed button in the upper right corner of the canvas view to switch to this layout.
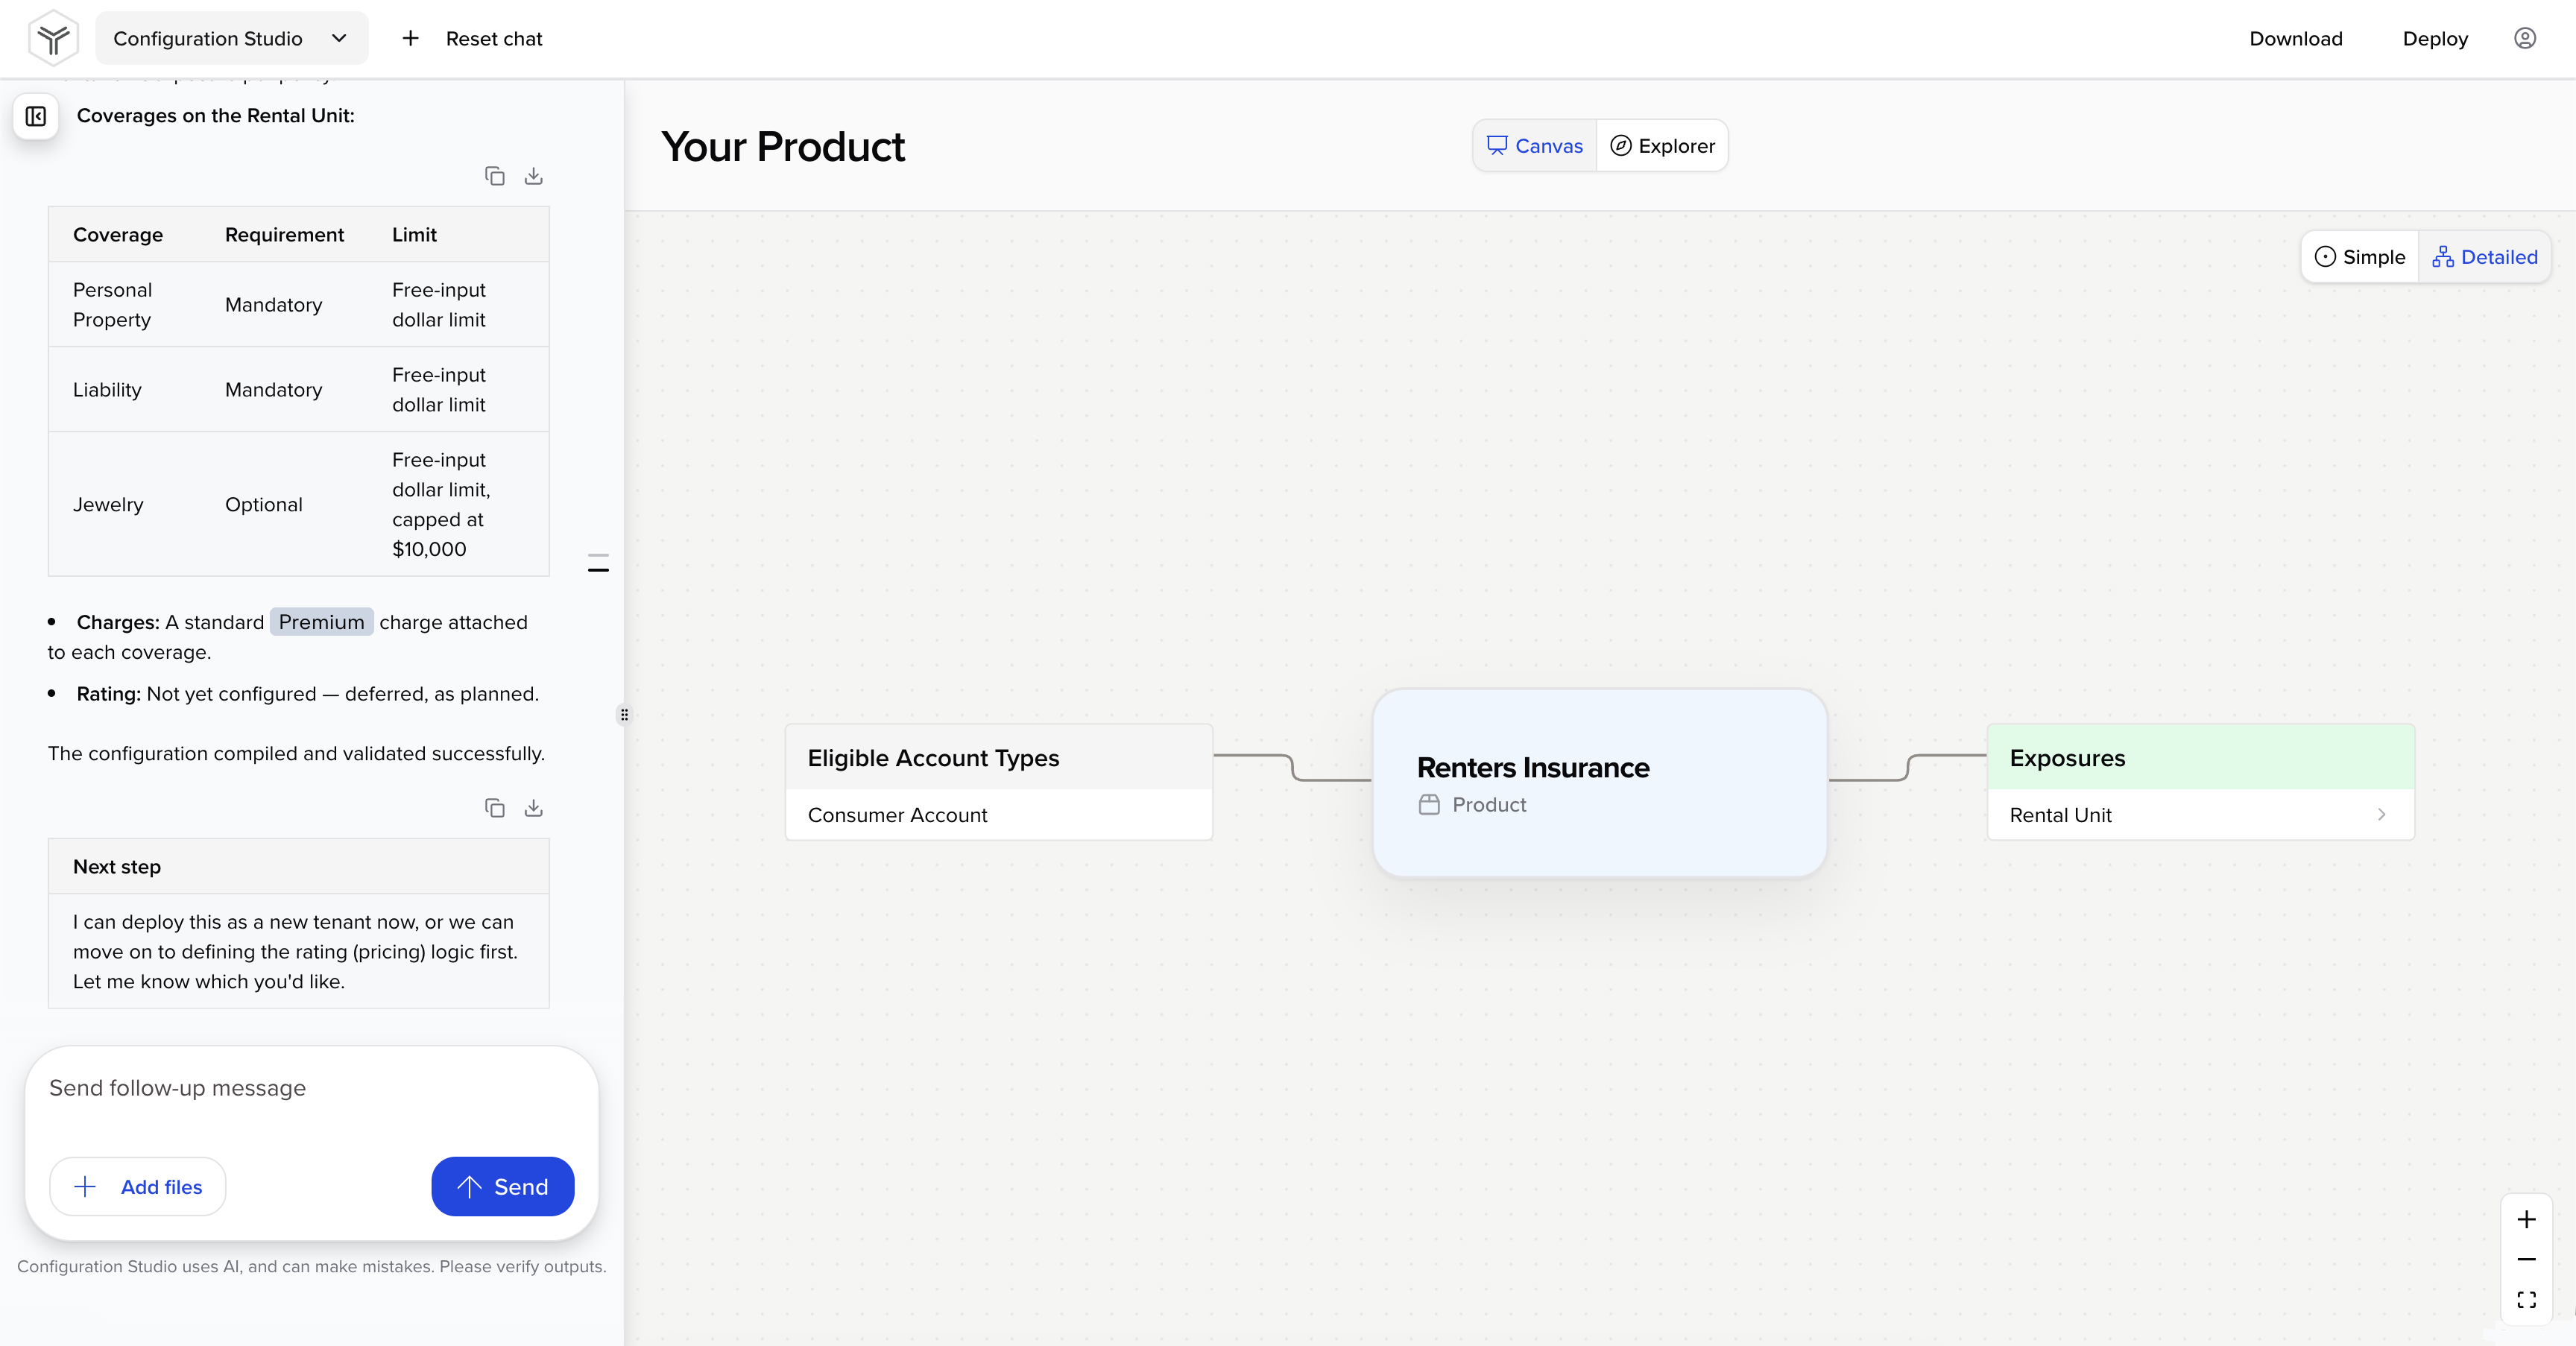
Each node in the detailed layout can contain a list of multiple items. Clicking an item may open the details panel or display a new diagram with relevant configuration details.
Click the arrow within any diagram node to view the relevant diagram.
Details Panel
The details panel is available in both layouts. Click the product or any of the other nodes in the diagram to open the details panel, which includes properties, element contents, and associated configuration objects.
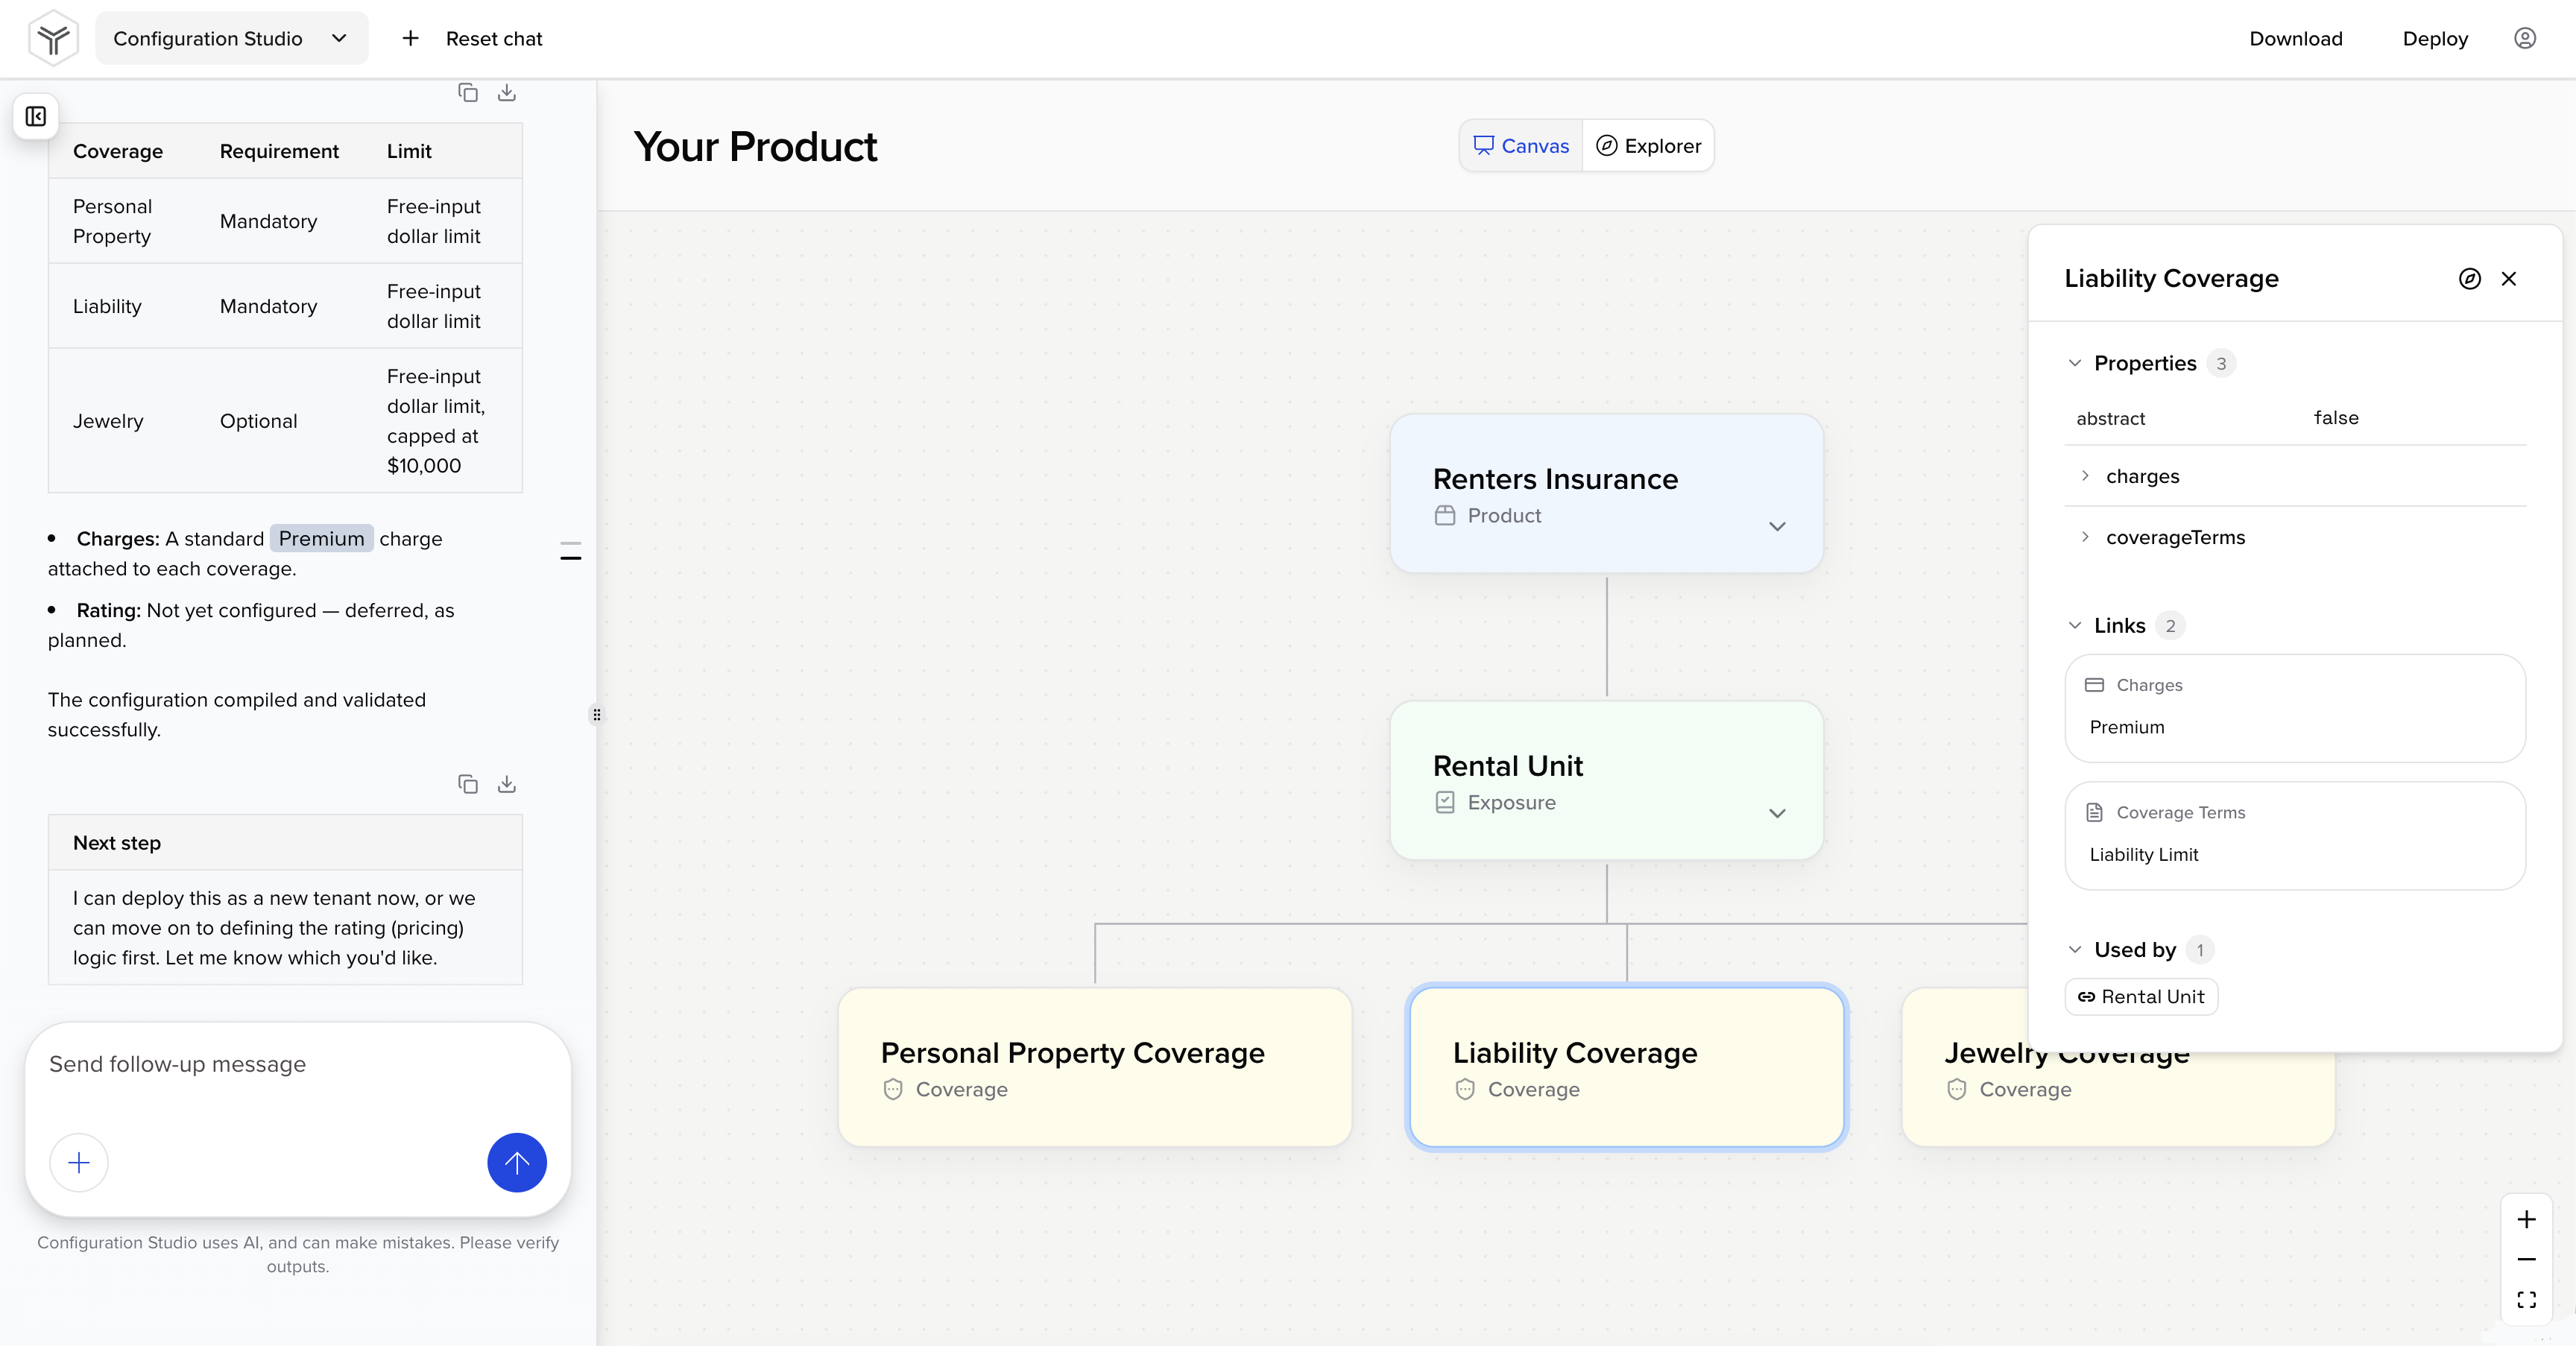
Each section of the panel can be collapsed or expanded by clicking the section name. Click a configuration object within the panel to view additional details. Click the Back to… button in the upper left corner of the panel to return to the previous configuration object.
Click the explorer icon in the upper right corner of the panel to open the configuration object in the explorer view. Click the x icon to close the panel.
Explorer View
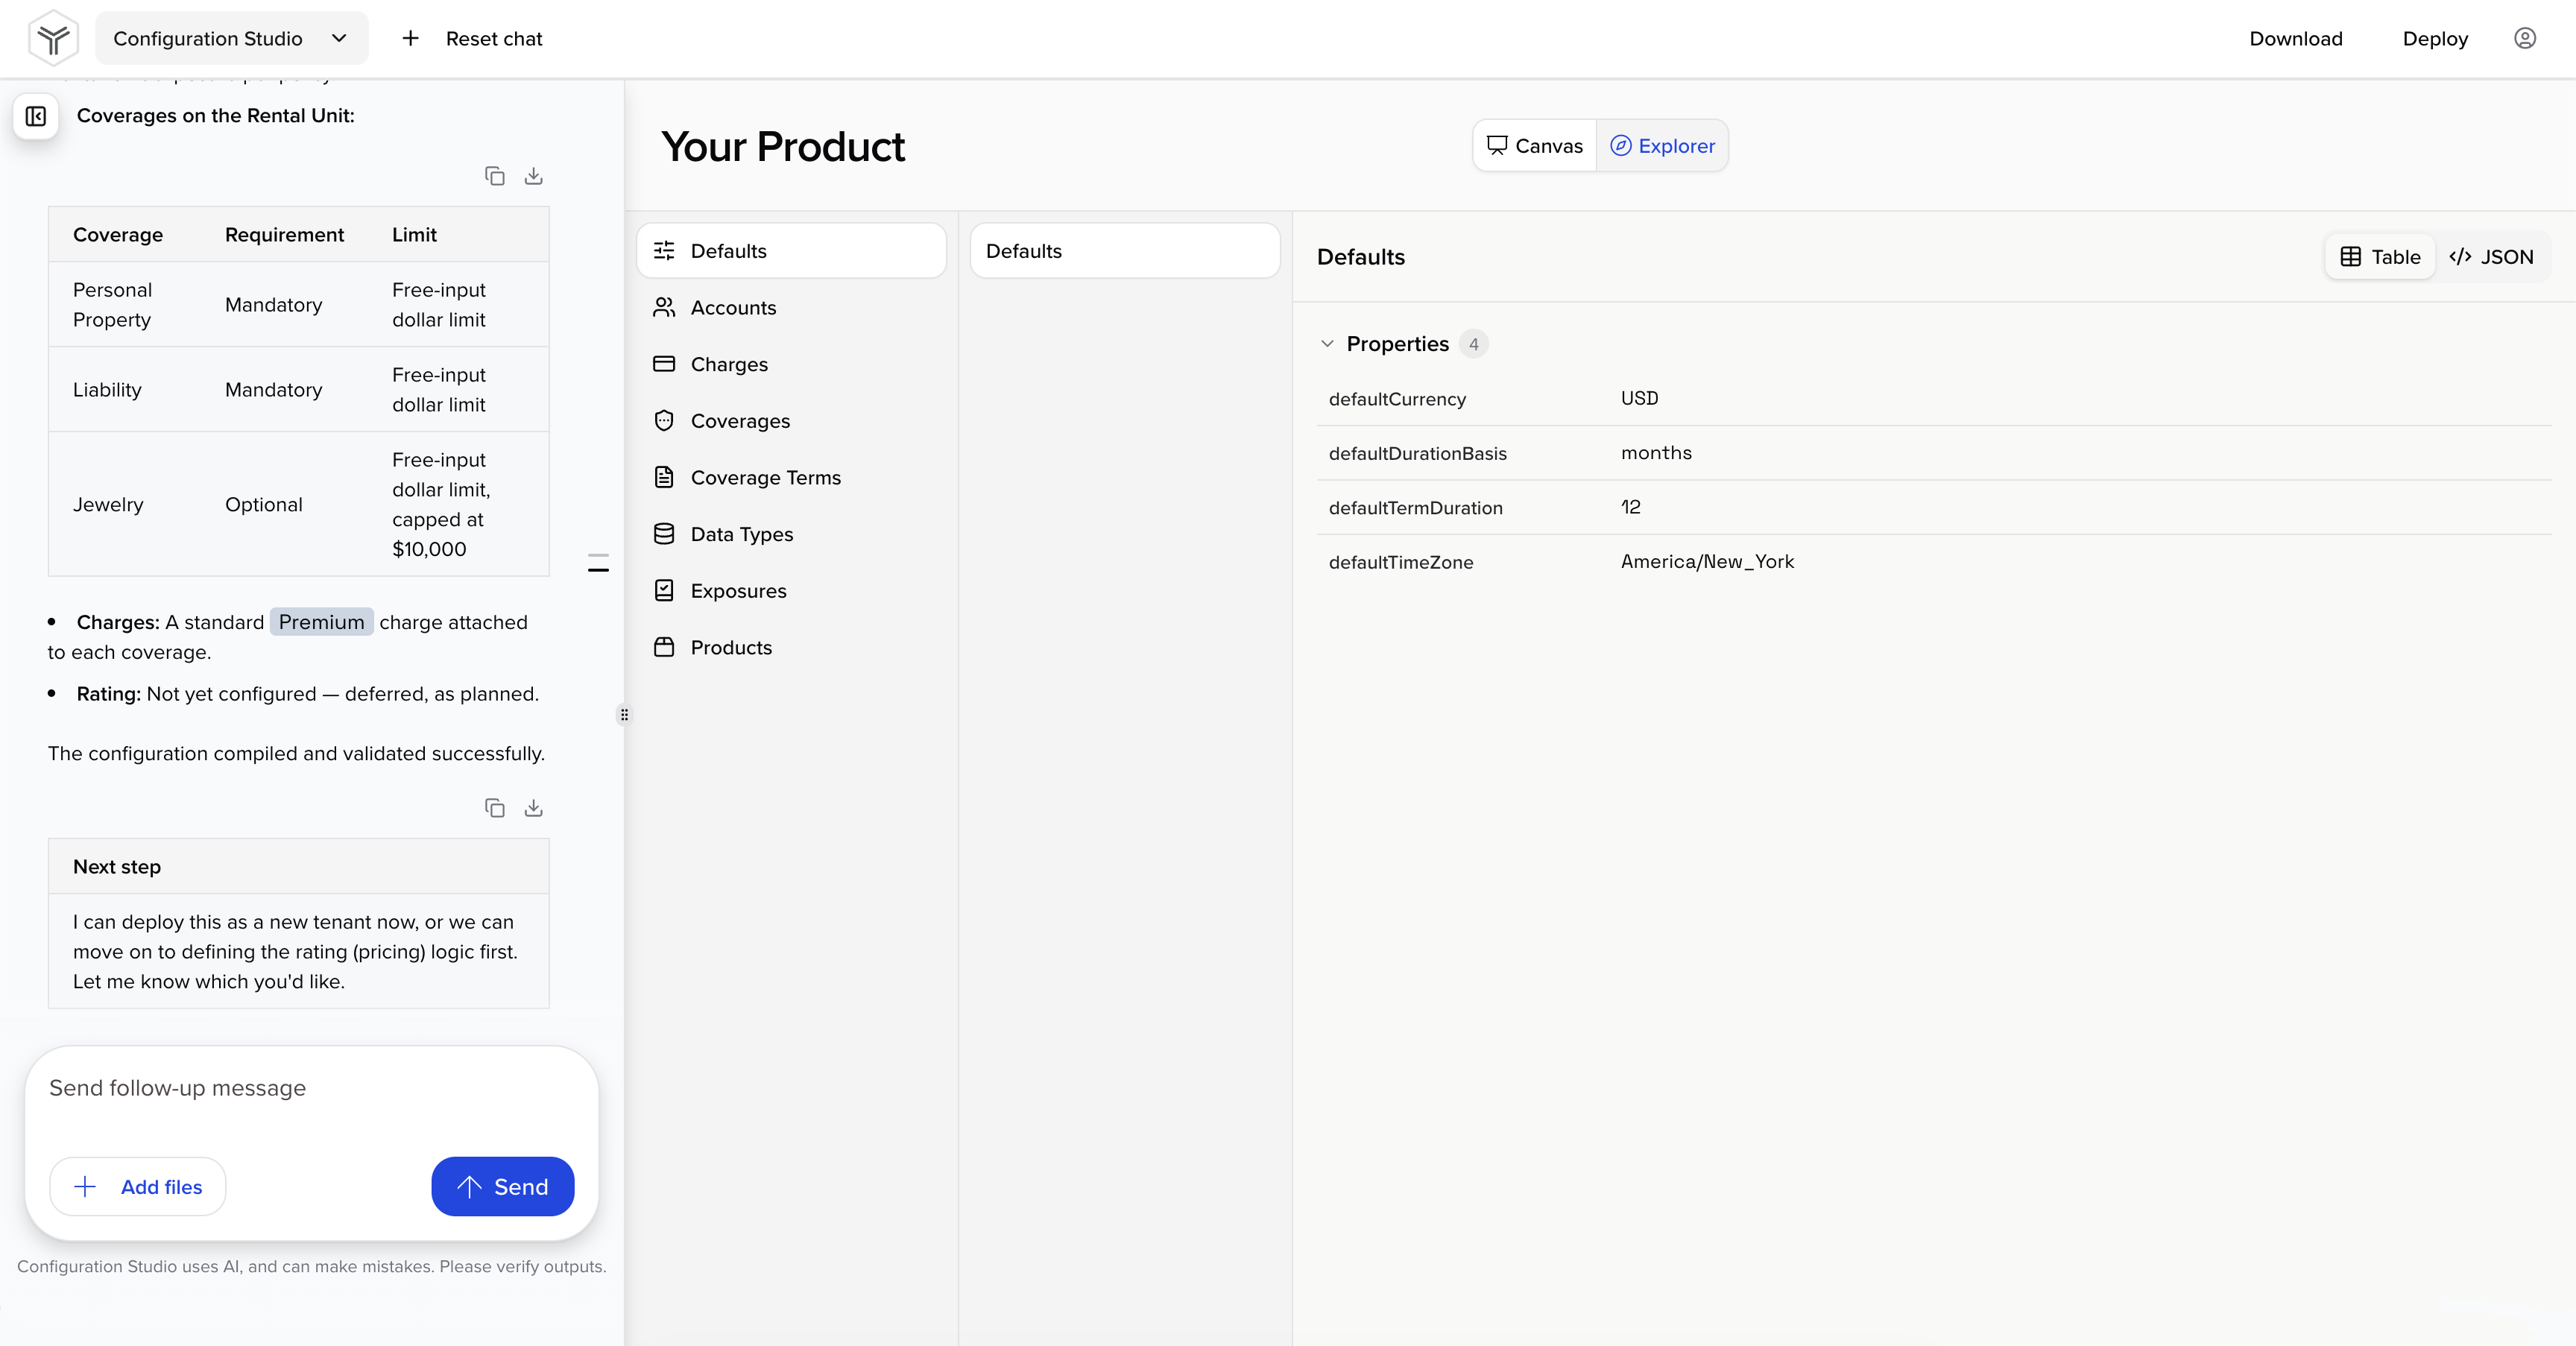
The explorer view displays your product configuration as a folder structure. Select folders and subfolders to navigate the product configuration folder structure. Click the Explorer button above the diagram to switch to the explorer view.
Table Format
By default, folder contents are displayed in a user-friendly table format. You can navigate folder contents the same way you would with the details panel in the canvas view.
JSON Format
Click the JSON button in the upper right corner to view the raw JSON object.
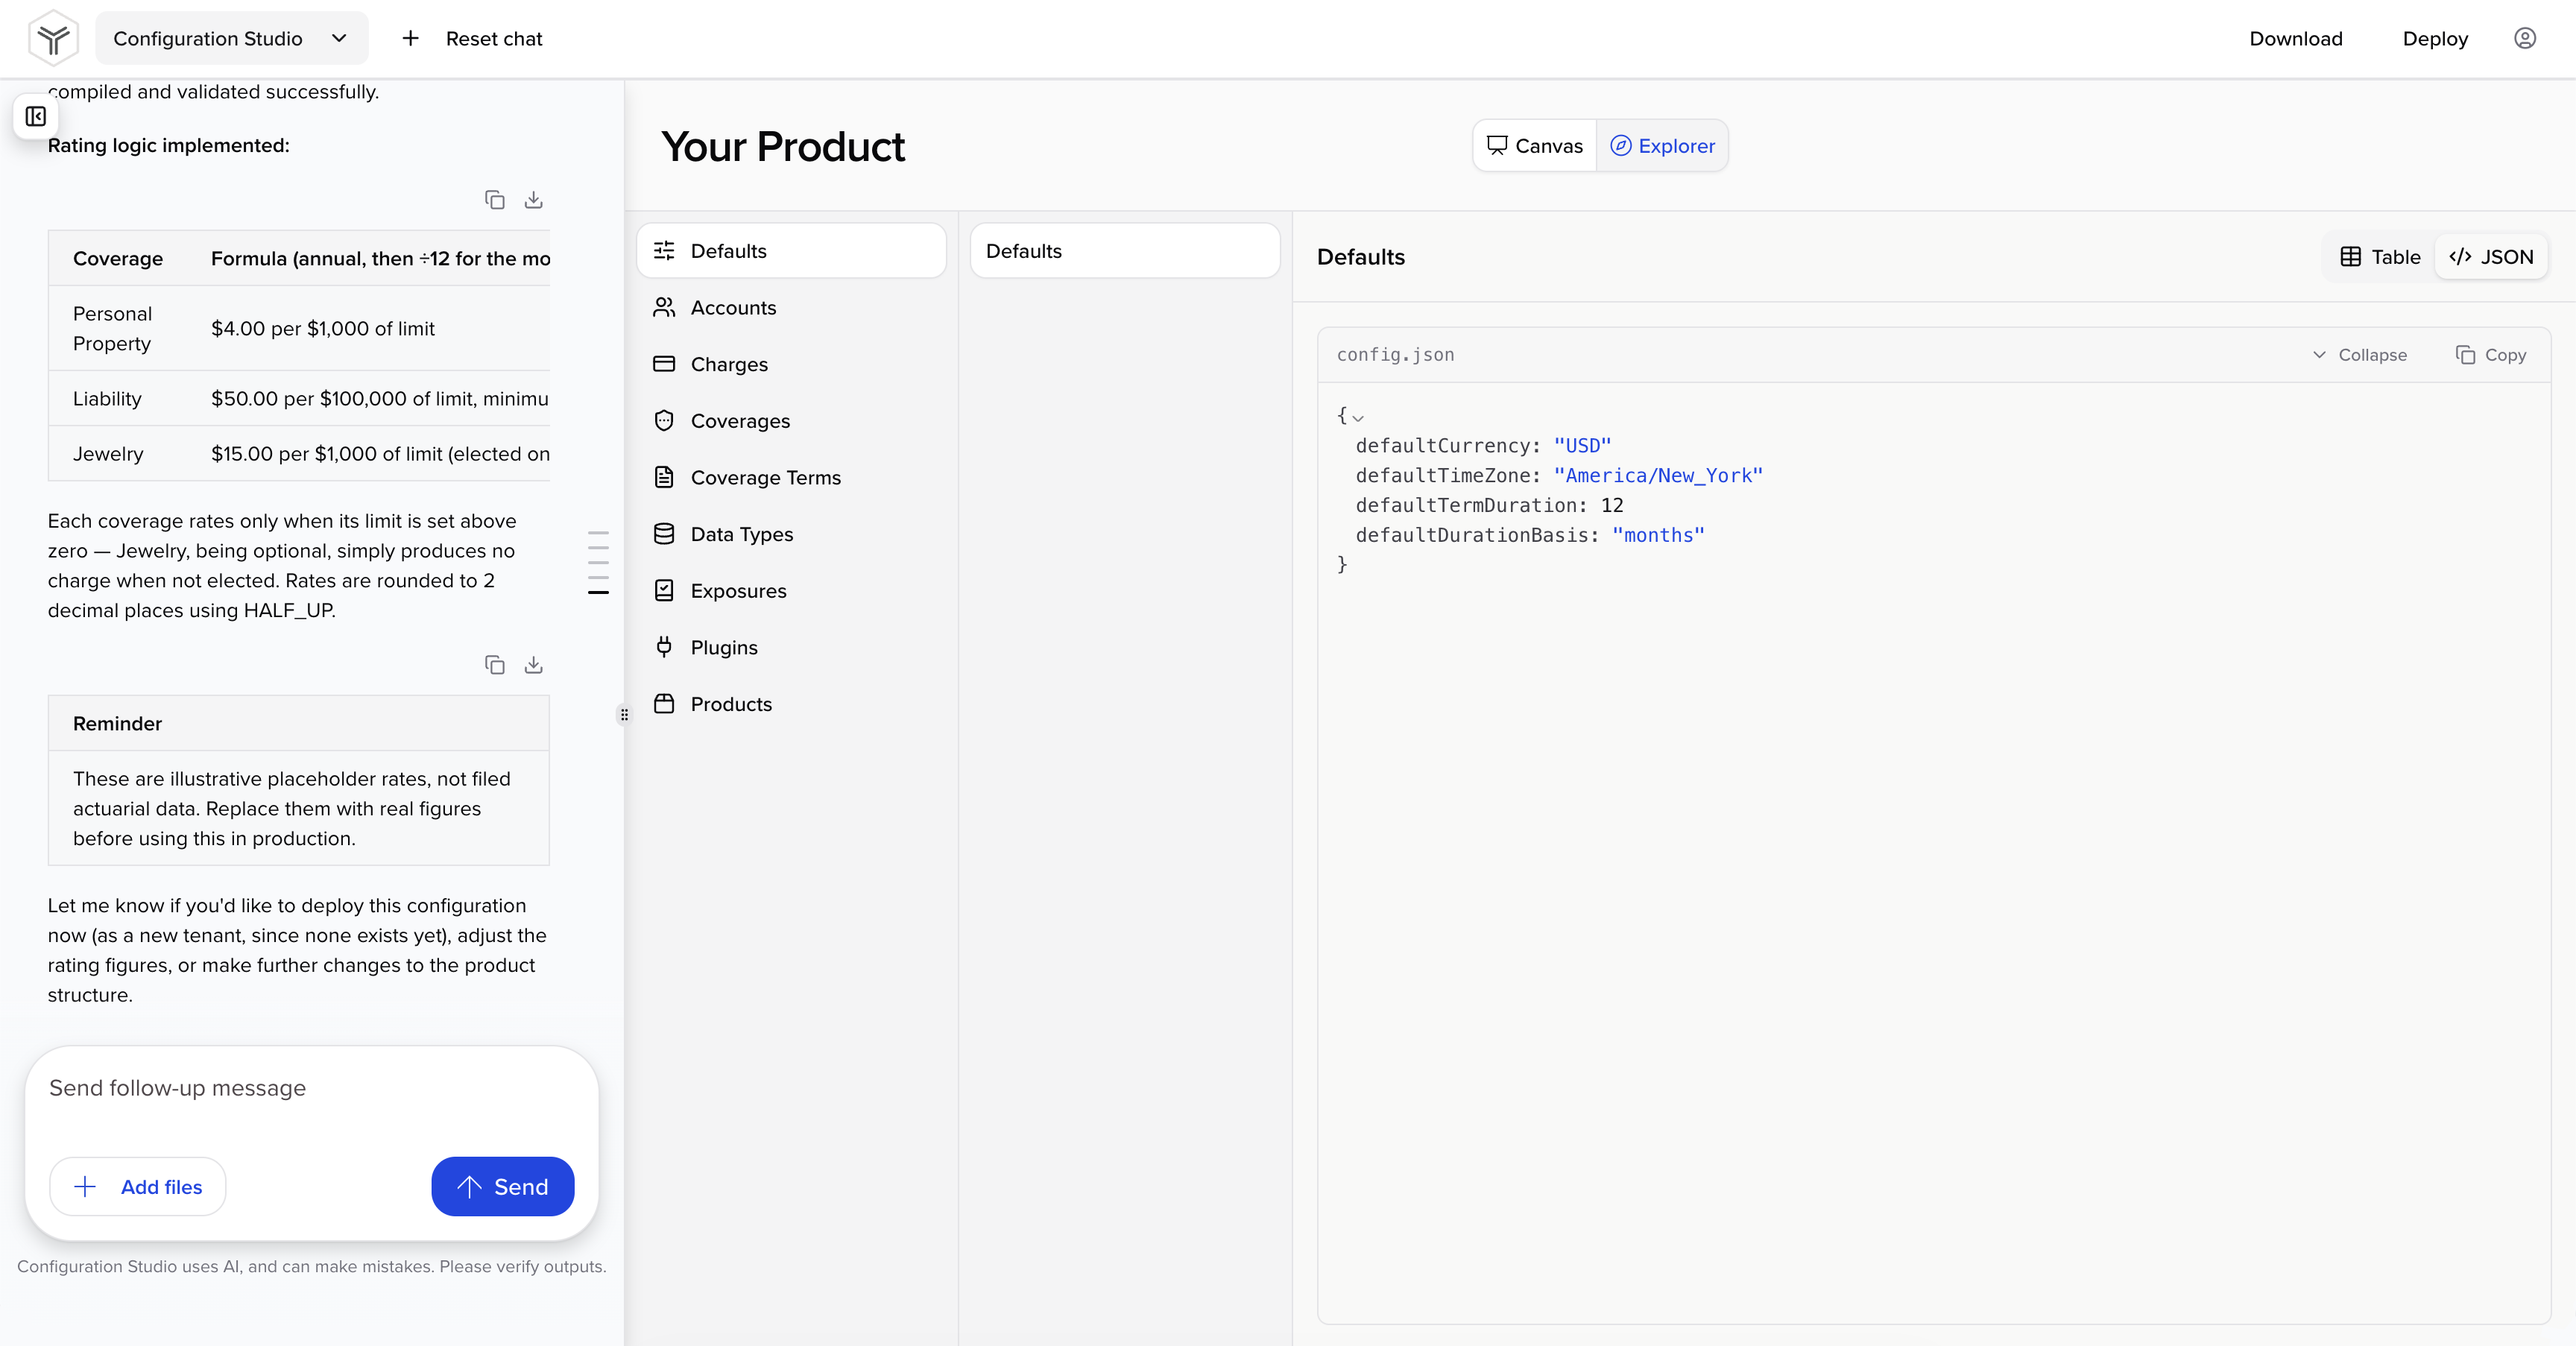
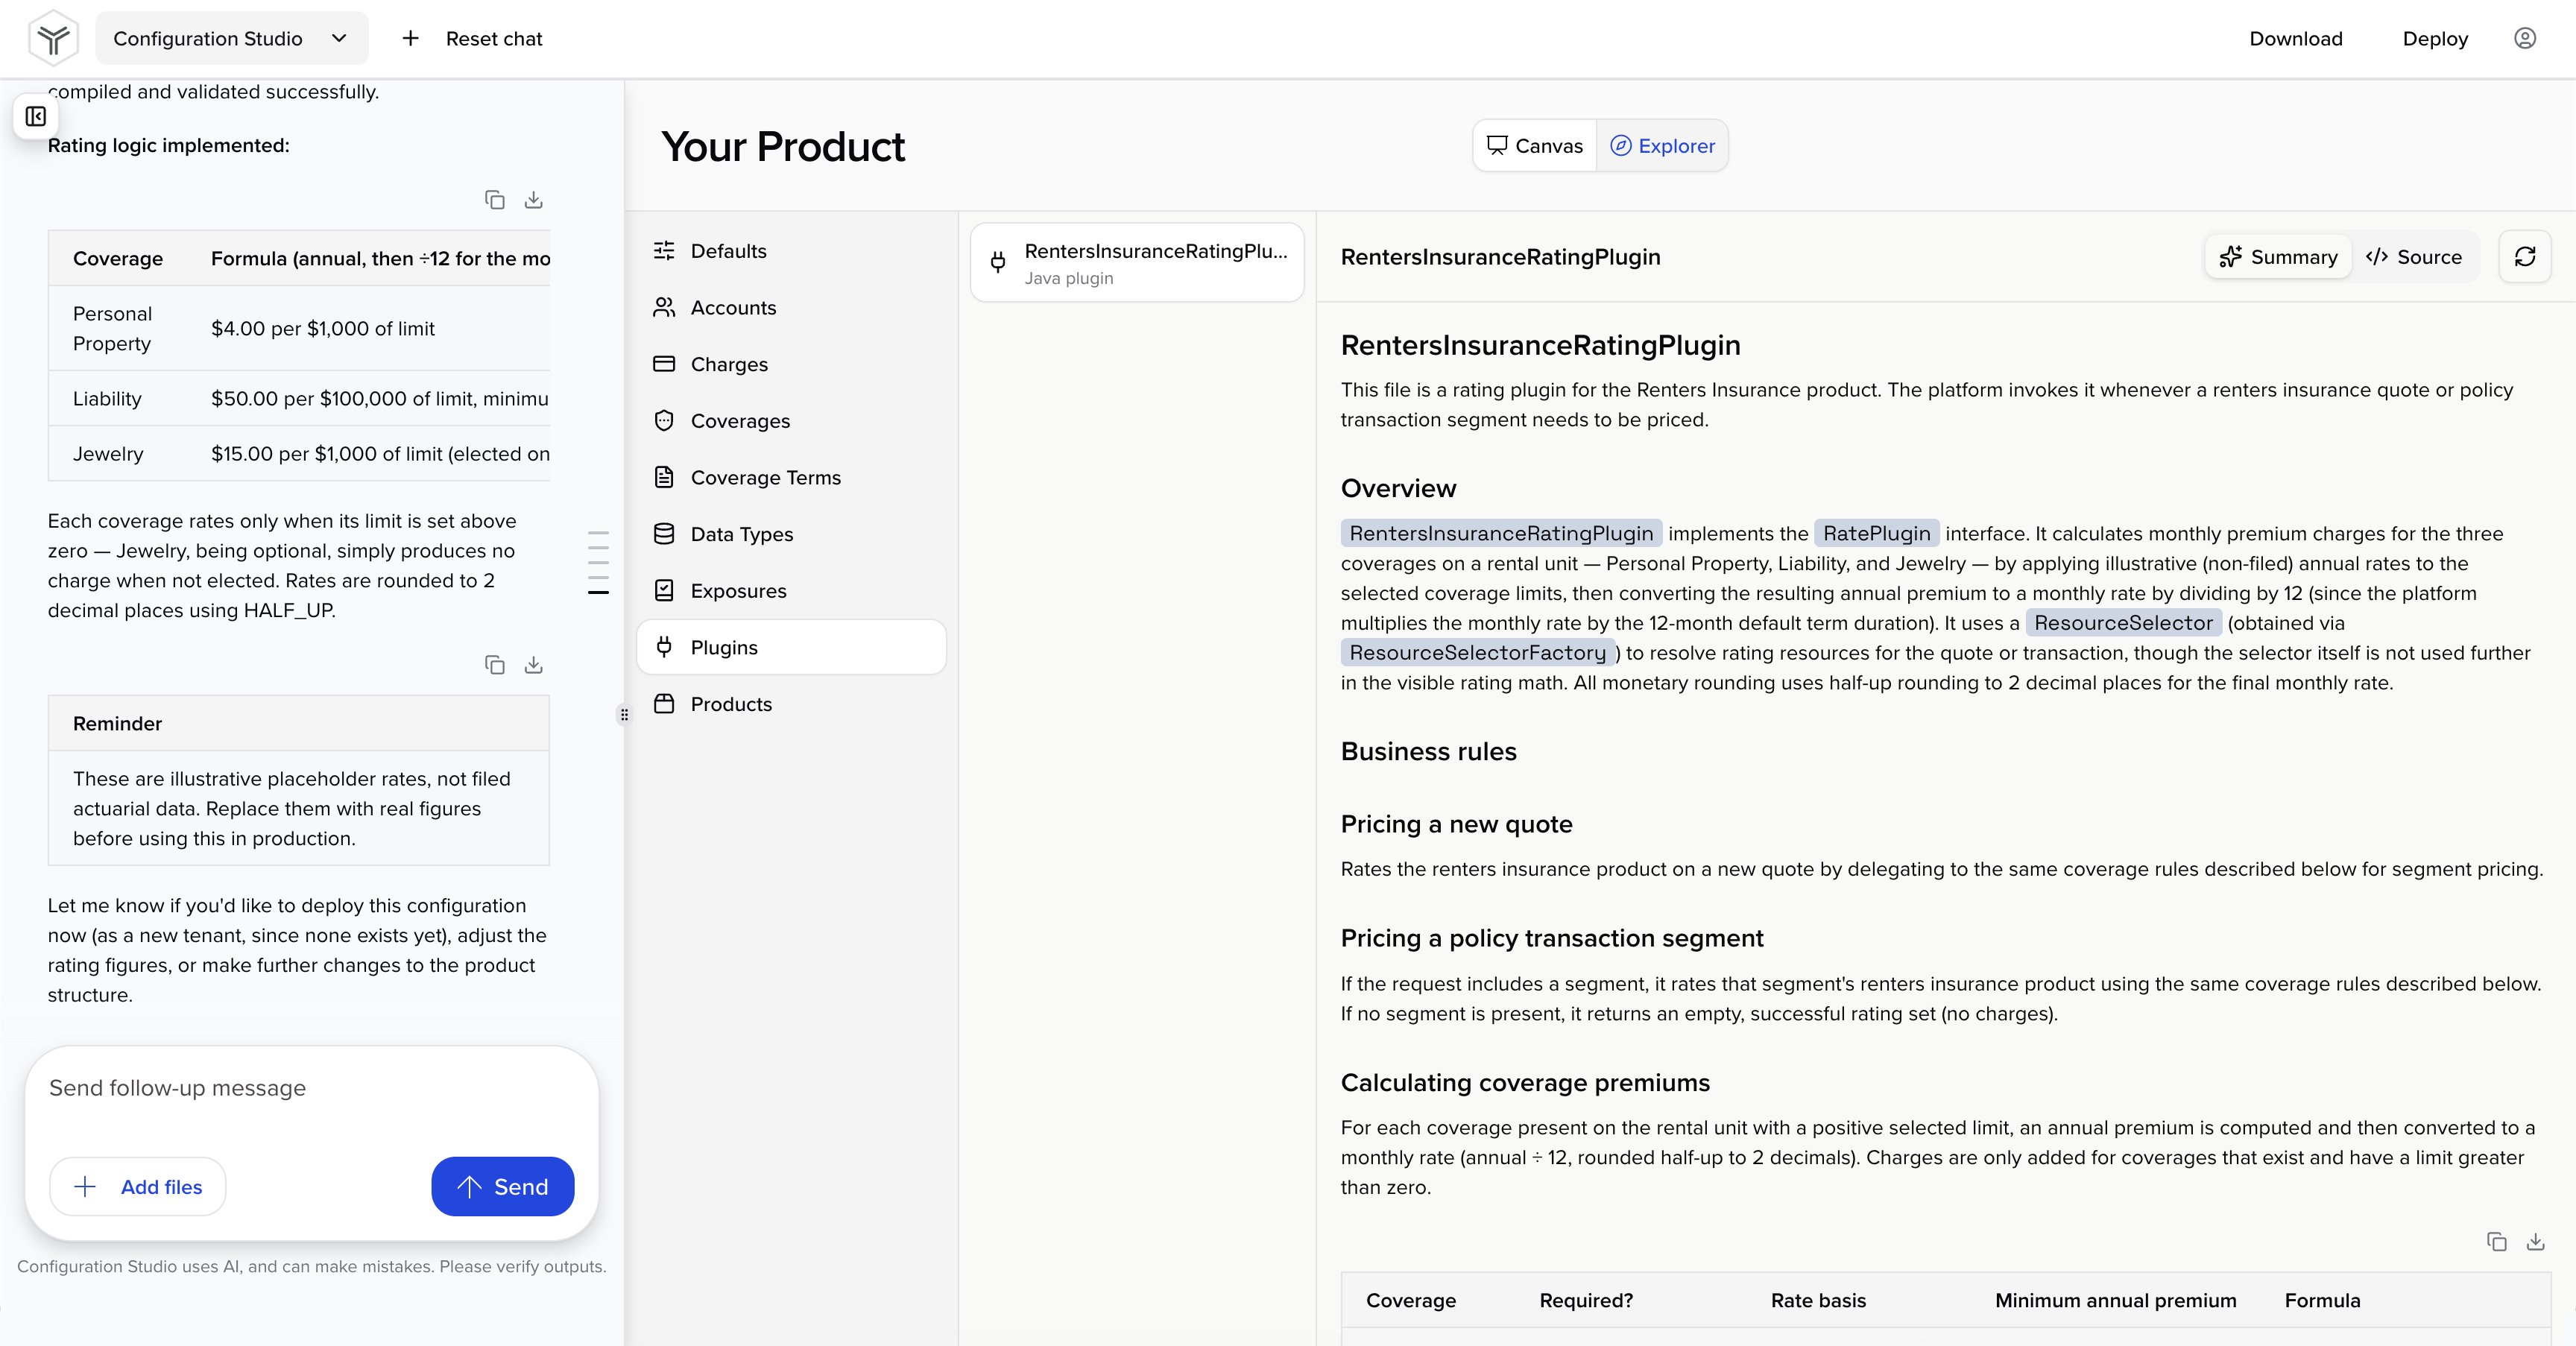
Plugin Summary
If your configuration contains plugin implementations, the Summary button in the upper right corner will display a detailed human-readable description of the code. Click the reload icon to regenerate the summary.
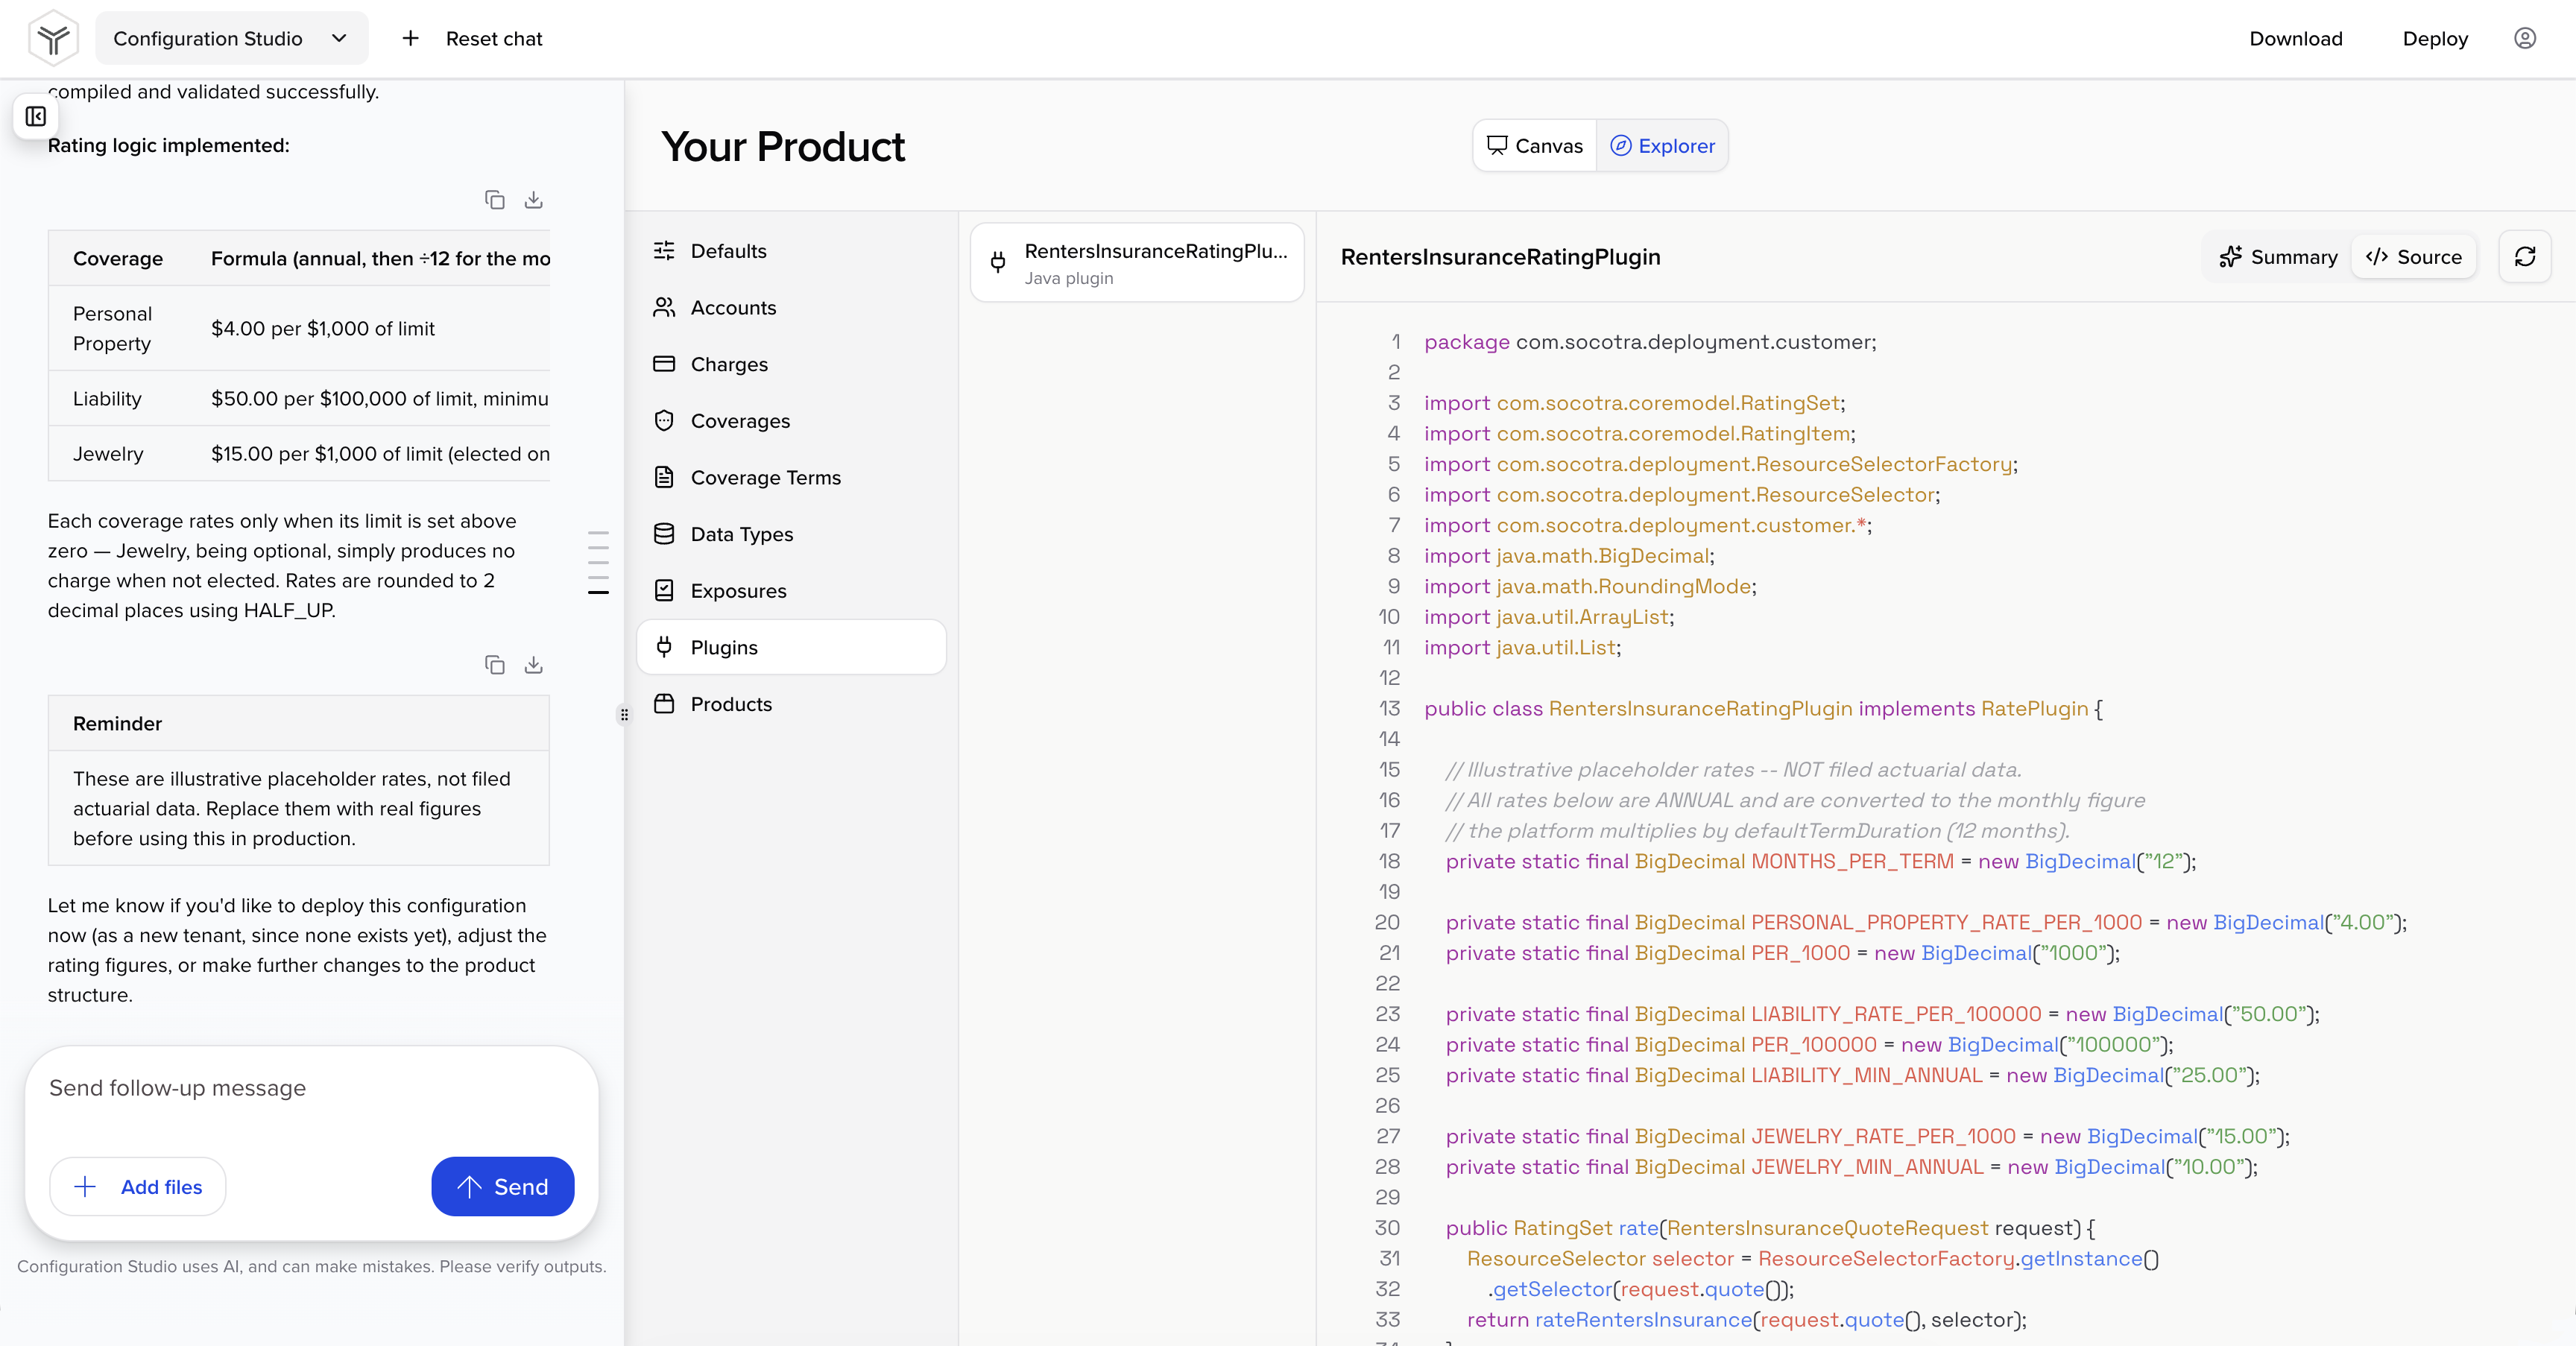
Plugin Source Code
Click the Source button in the upper right corner to view the plugin code.
Chat
Submit prompts using the chatbot sidebar on the left side of the screen to update your configuration. You can collapse the chat by clicking the toggle icon in the upper left corner of the chat. Drag the right side of the chat sidebar to adjust the size of the sidebar.
If the Configuration Assistant creates a configuration or plugin implementation that fails to pass validation rules or can't be deployed, it will automatically attempt to resolve issues up to 5 times.
Click the Stop button while the Configuration Assistant is responding to stop the assistant from generating a response.
Configuration Assistant prompts are limited to 10,000 characters.
Download Configuration
Click the Download button in the upper right corner to download your current configuration.
Deploy Configuration
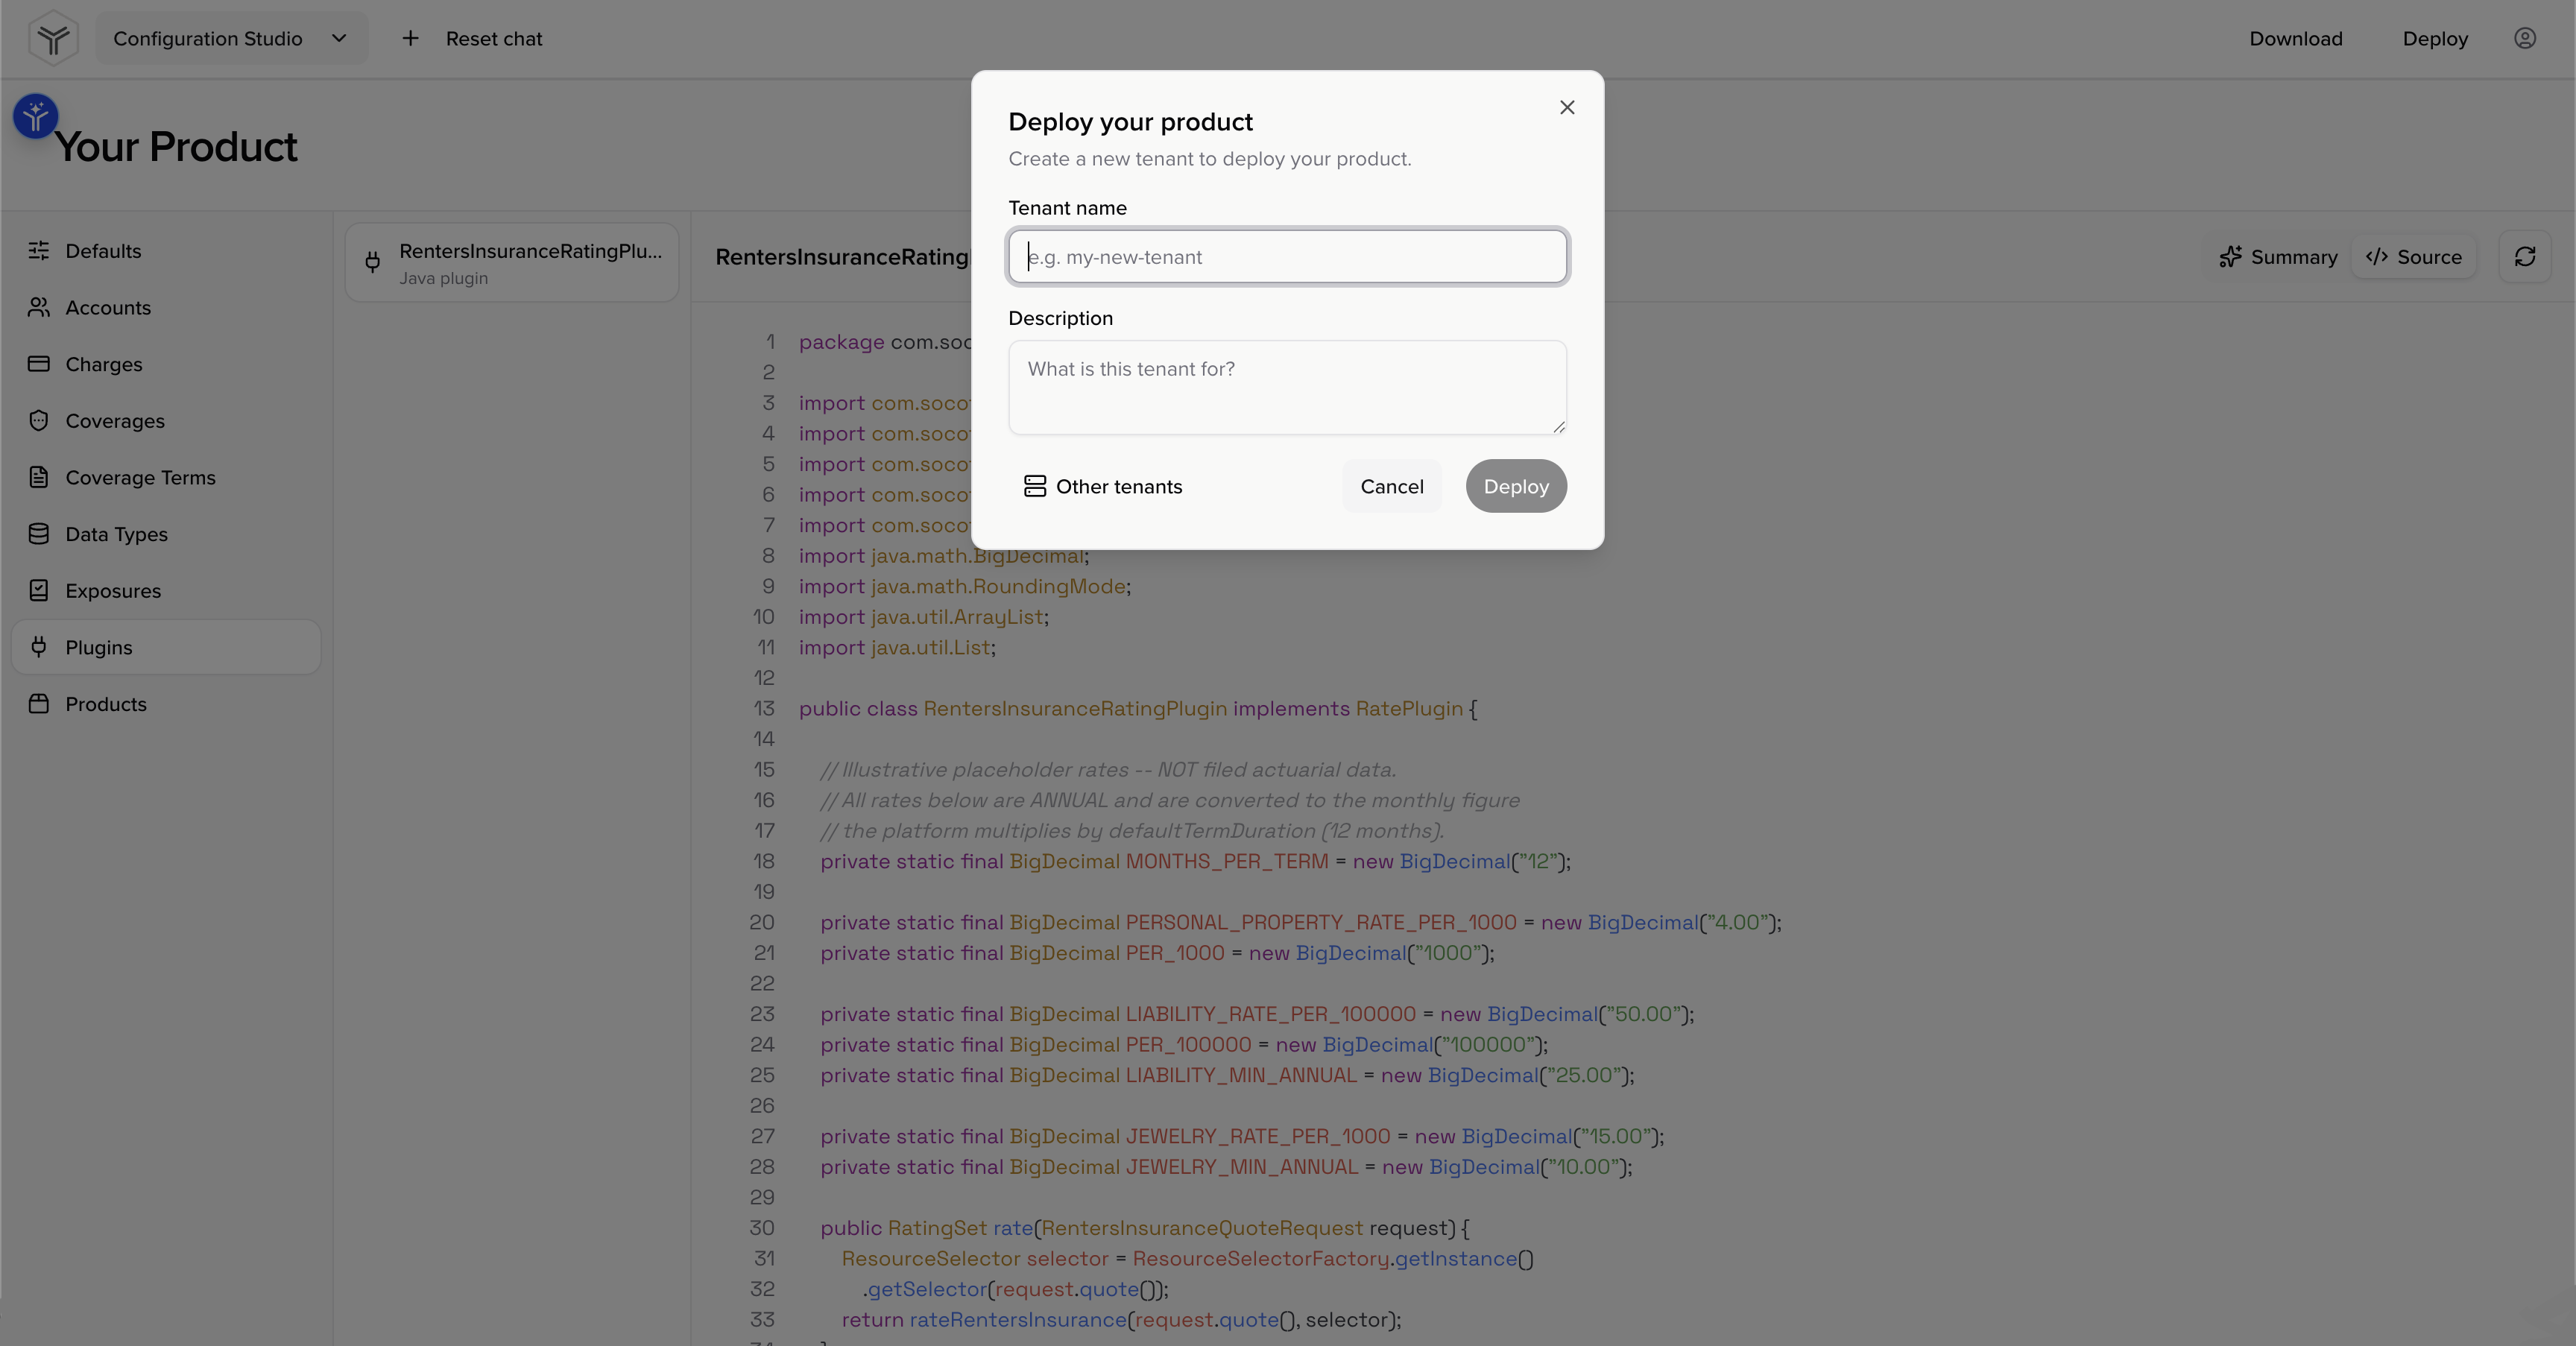
Click the Deploy button in the upper right corner to deploy your configuration to a new or existing tenant. Click the Other tenants button to select an existing tenant. Following deployment, new tenants will be added to the list of tenants available in the Operations Workbench.
When deploying to existing tenants, you can only deploy to tenants of type test.
Reset Chat
Click the Reset chat button in the upper left corner of the screen to clear your chat history along with your configuration changes and start over.
The Reset chat button will permanently delete undeployed configuration changes and your chat history. Make sure to deploy your configuration changes before resetting.