Getting Started Guide
Socotra’s philosophy is that software platforms should be understandable and configurable by anyone. In this guide, we present exercises and examples you can follow to discover how easy Socotra is to configure and use.
If you would like to try Socotra Connected Core but don’t have an evaluation account, contact us at inquiries@socotra.com. For other questions about this guide or Socotra Connected Core, contact support@socotra.com.
In this guide we will cover the following topics:
Getting started with Socotra Configuration Studio
Test users
Deploying configurations
Terminology
We will use the following terms to describe various aspects of the Socotra System:
Tenant: An individual installation for your instance of Socotra. When you first deploy, this will deploy a tenant that is specific to you and your company.
Environment: A shared system that can host multiple tenants. Here, we’ll be working with the sandbox environment.
Introduction
Step 1.1: Set Up
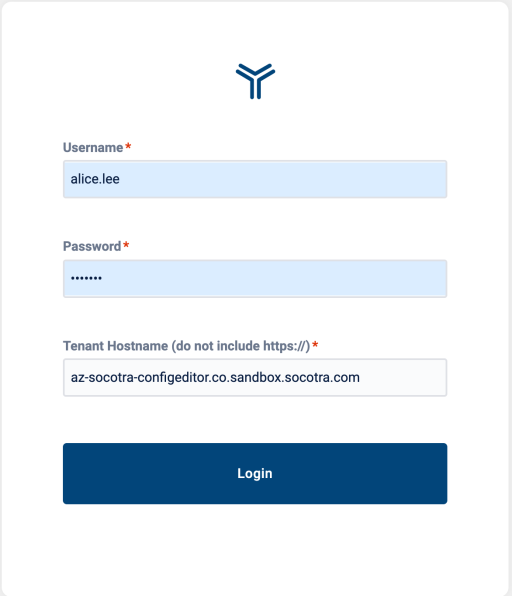
Log in to Socotra Configuration Studio. Use your username and password that were provided to you by Socotra, and contact our support team at support@socotra.com if there are problems signing in.
Note
Configuration Studio can be set to use browser storage or server side storage. See the Config Studio Server-Side Storage Feature Guide for details.
Configuration studio comes pre-loaded with example auto and term life products. You can use the editor to add details of your insurance product, such as data fields, rating processes, forms, documents, etc.
Start by clicking the Deploy link at the right side of the screen. Choose Deploy on the deployment dialog. This will create your test tenant with the pre-loaded example configuration.
Note
If you get a dialog asking you whether you’d like to deploy with product versioning, choose No, Continue Without PV. Product versioning binds policies to the specific version of the configuration that was active at the time the policy is created. This is normally what you will want to do, but it may interfere with the simplified steps in this guide, so for now click No. You can read more about product versioning here.
Step 1.2: Log into your test tenant
After you deploy your configuration, you need a username and password in order to access Connected Core.
Important
The credentials to log into the Socotra tenant are different than those for configuration studio. See below on how to access the application.
To see how this works, from the home screen click General Settings, and then the Test Users tab. The data you see there loads your test Socotra tenant with initial users; they can also be created later using Socotra’s administration tools, which is the only method to add users to production tenants.
You will see that the pre-loaded configuration has a test user named Alice Lee, with username alice.lee and password socotra.
After deploying, click Go to Instance on the right side of the screen to sign into your test tenant:
Product Configuration
Step 2.1: Vehicle Color
The included configuration includes a simplified auto insurance product called simple_auto. Within your Socotra tenant (not Configuration Studio), first create a policyholder, using whatever names, date of birth, etc. that you choose. Then, from the policyholder screen, click Start New Application and then select Simple Auto. You’ll see the beginnings of the policy you just created.
Now, let’s go back to Configuration Studio and add a select widget for the vehicle color on the Vehicle exposure. An exposure in Socotra is the item that is to be covered, in this case the vehicle.
There is only one update needed in order to do this. In configuration studio, navigate to:
Home > Simple Auto (under Products) > Vehicle (under Exposures) > Fields
Add a new field by clicking the Add New button, and enter the following attributes:
For Title, enter “Vehicle Color”
For Name, enter “vehicle_color”
For Type, choose “Select”
Click Create Field and you will go back to the field list, and you’ll see your new Vehicle Color field at the end of the list. Click it to get to more settings.
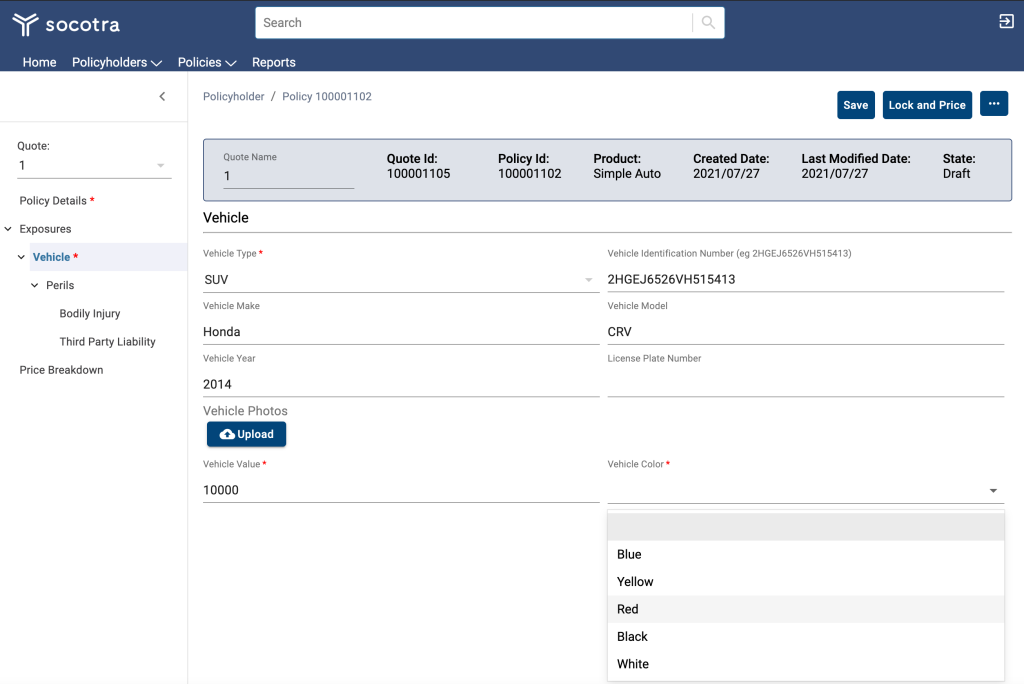
You’ll want to enter new color options in the Values section. In the Values textbox, enter “Blue.” Then click Add New Value and enter Green in the next box. Continue with each of “Red”, “Yellow”, “Black”, and “White.”
Confirm your change by clicking Validate on the right, and then click Deploy (see Step 1.1). Then go back to the Socotra tenant to see if your changes were successful: Click on the Exposures link on the left, and click the Add Exposure button. Confirm the new exposure by clicking Add, and you will see the fields for your vehicle configuration, including the new Vehicle Color field towards the bottom.
Note
Where you place the field in the list determines its relative location on the page in the Socotra tenant user interface. You can change the order by dragging fields up and down in configuration studio.
The vehicle screen should look like something like this after you complete this exercise:
Pricing
Step 3.1: Rates Update
Let’s say that your actuary stopped by your desk to say that in her analysis, the risk profile for motorcycles has increased, and our premium rates are too low. We’ll modify the rates table to charge additional premium for motorcycles.
To make this change we need to update the rates table. Navigate to:
Home > Simple Auto > Tables
There is only one table defined for this product, and you should see it displayed in a spreadsheet-like format with columns key and value.
For the premium calculation formula, we are currently charging a “base rate” of 3.7% of the vehicle value. That base rate is multiplied by a rate table factor that is based on the vehicle type. If you’re curious, the premium calculation for the peril “Third Party Liability” is viewable in the calculation file at:
Home > Simple Auto > Vehicle > Perils (third_party_liability) > Premium
For now though, go back to the rate table you just viewed.
Notice the additional rate being charged for Motorcycles. The current value is “2” which means it is twice the base rate. You’ll see that a “Car” is only being charged 1x the base rate, i.e., no additional charge, since it has a lower risk profile. Increase the Motorcycle rate value to “2.5”.
Confirm your change and click Deploy Configuration. Then login to your Socotra tenant by clicking Go to Instance.
Testing your rating change
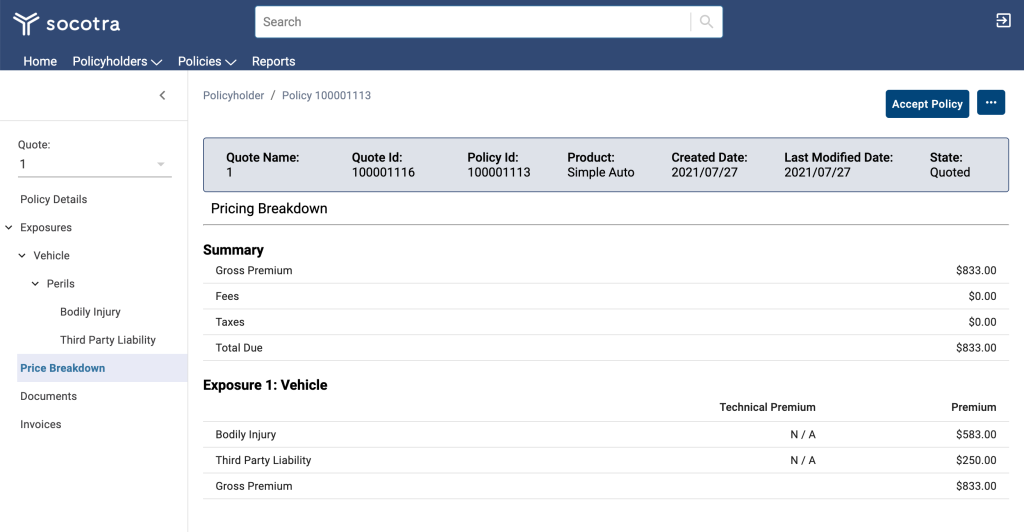
To see if your change was successful, try creating a new policy to see what Socotra calculates for the premium for a Motorcycle with a value of $10,000 that is sold “Direct.”
Your new rate calculation should be as follows:
Step 3.2: Discount Increase
Your marketing team has decided to provide a larger discount to customers purchasing policies directly for Third Party Liability (“TPL”) coverage. You need to update your TPL premium formula to reflect the revised VAT rate. Your pricing formula is in:
Home > Simple Auto > Vehicle > Perils (third_party_liability) > Premium
Open the pricing formula file. On Line 8, you can see how the discount being provided to customers that purchase directly is 10% (since it’s a factor of 0.9). Increase the discount to 20% by changing the factor to 0.8. Confirm your change and click Deploy. Then login to Socotra to see if your change was successful.
If you need a reference, see an example here.
Testing your discount adjustment
To see if your change was successful, try creating a new policy to see what Socotra calculates for the premium for a Motorcycle with a value of $10,000 that is sold “Direct.”
Your new rates calculation after you complete Steps 3.1 and 3.2:

Documents
Step 4.1: Policy Schedule Update
In Tutorial 2.1, we added “Vehicle Color” to the workflow. Now let’s add “Vehicle Color” to the Policy Schedule document. Open the Policy Schedule file at:
Home > Simple Auto > Documents > schedule
After the line related to Vehicle Make, Model, and Year (Line 45) add the following configuration as Line 46:
<b>Vehicle Color:</b> {{exp_v.vehicle_color}} <br>
Confirm your change and click Deploy Then login to Socotra to see if your change was successful. Follow these steps:
Create a new Simple Auto policy
Create an Exposure
Select
PriceSelect
FinalizeDownload the Policy Schedule document
Note
In Socotra, finalizing a policy locks in the price. It also generates invoices and related documents for the policy.
If you need a reference, see an example here.
The Simple Auto Policy Schedule should look like this after you complete this exercise. Notice the “Vehicle Color” line after Vehicle License Plate Number:

Reports
Step 5.1: On Risk Report
Note
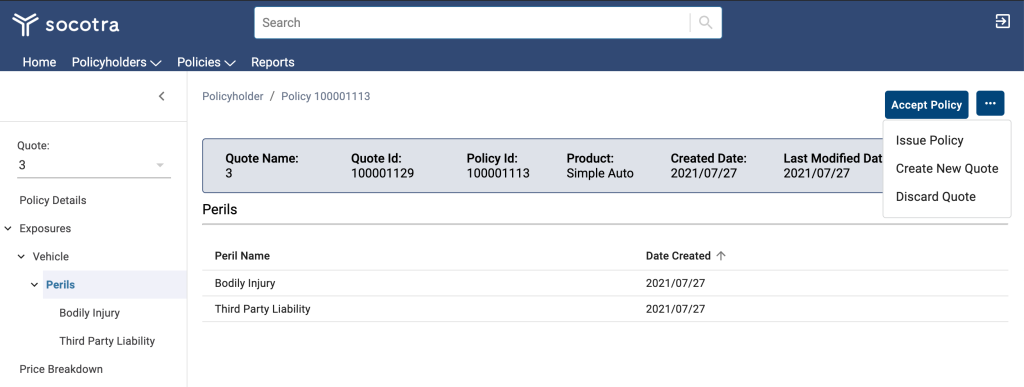
The following report will show empty values if no policies have been issued in your tenant. In order to issue a policy, navigate to the policy and choose Issue Policy from the list of drop-down options in the top right corner.
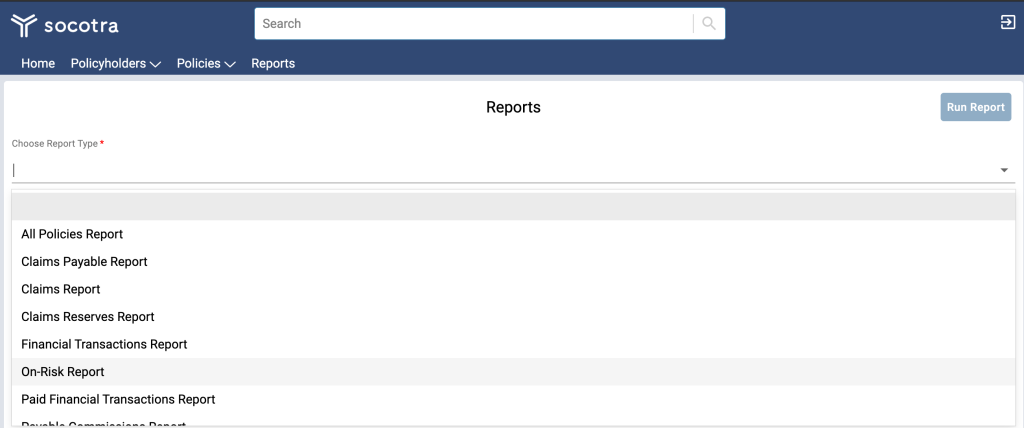
Socotra allows you to run reports. Let’s create a report to understand what coverage is on risk. Click Reports from the top menu and choose On Risk Report in the Choose Report Type selection list.
Select the Products you wish to export data on, choose an as-of date, and click Run Report:
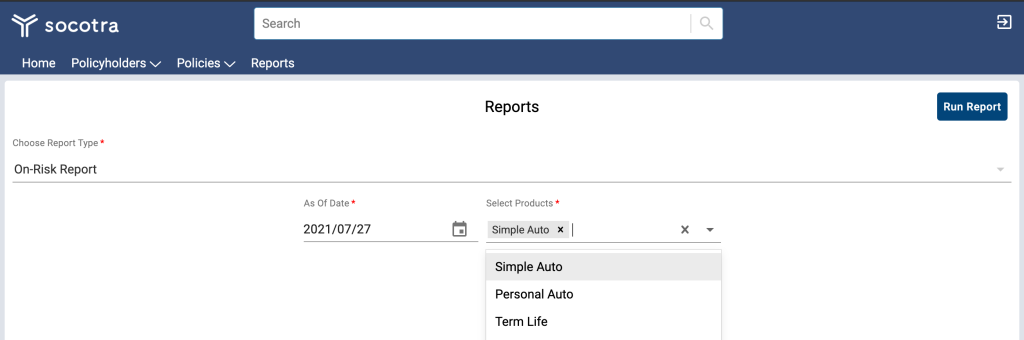
Note
The “As-of Date” should be at least one day ahead of the effective start date of your first policy. Socotra runs reports as of 00:00:00 on that date, and as of that time, the policy did not exist.
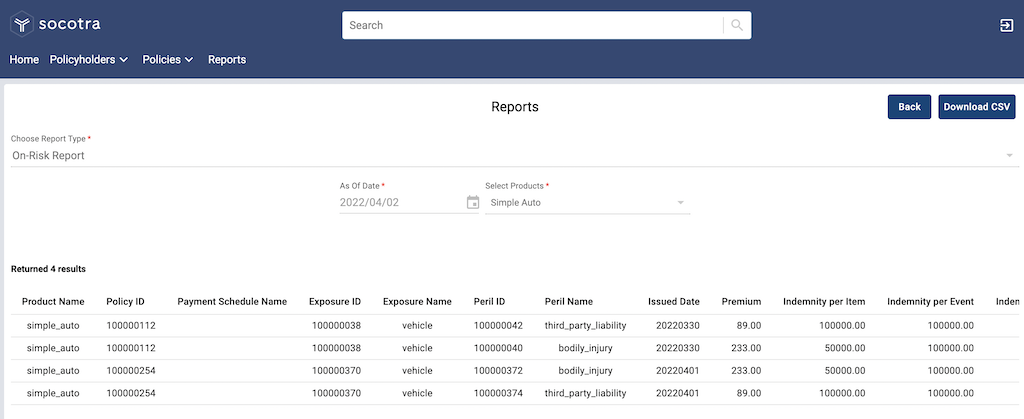
After you run the report, you should see the policies you have previously created. You can also export the results to a CSV file.
Next Steps
Once you are comfortable with the process described above – editing configuration, deploying a tenant based on that configuration, and testing workflows in the tenant – you’ll likely wish to begin implementing real-world products.
Instead of starting entirely from scratch, you can leverage Socotra’s Product Library to get a head start using a pre-built product.
Use of Configuration Studio is entirely optional, since any edits you make within Configuration Studio are persisted to the underlying configuration set that is then deployed to your tenant. You can create entirely new products in Configuration Studio or use it to perform configuration validations and tweaks – it’s up to you!
For more information on the Product Library, see the feature guide.